Setting up AVG Internet Security for use with VPNUK.
1. Disable AVG Firewall & Anti Virus
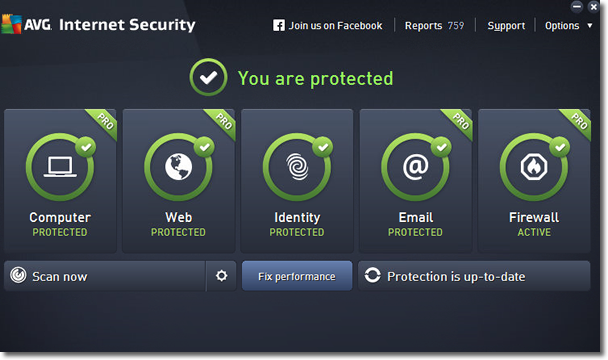
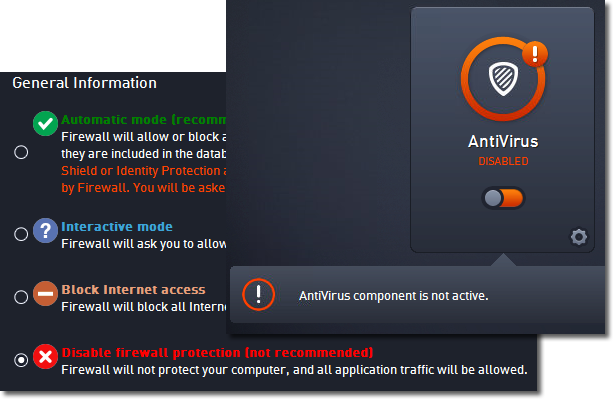
Before installing any of our software please ensure you close all programs, then open the AVG overview window and temporarily disable your Anti Virus and Firewall. You can do this from within the application or from the context menu.
NOTE: If you are not happy running your system without any protection you can temporarily enable Windows Firewall or Windows Defender
2. Install VPNUK Software
Can can now install the VPNUK software application. If you are installing the OpenVPN Assistant please also install the main OpenVPN application.
![]()
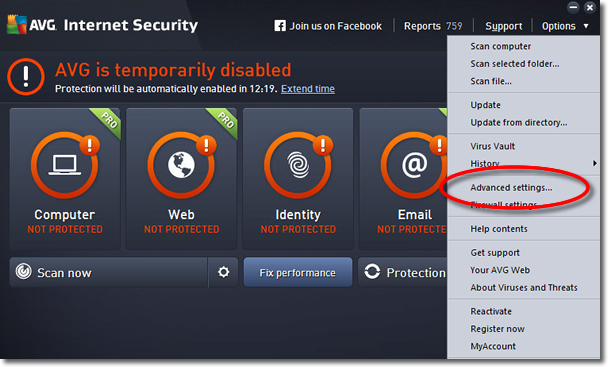
3. Advanced Settings
Return to your AVG window and click onto ‘Options’ and then select ‘Advanced settings’.
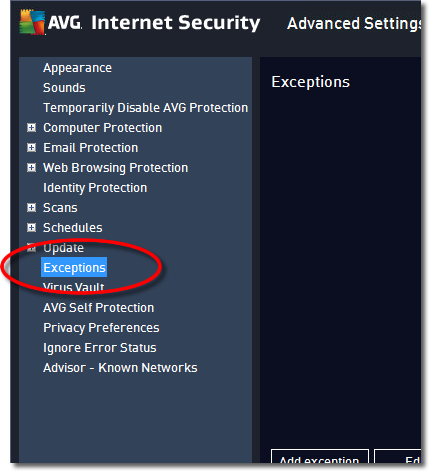
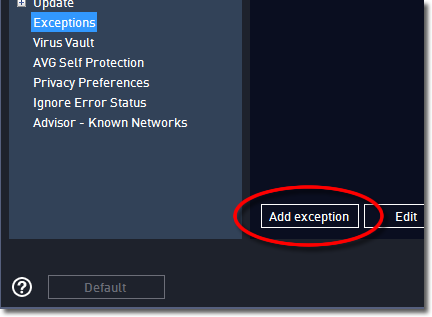
4. Exceptions
From the Left hand menu select ‘Exceptions’.
5. Add Exception
Click onto the button that reads ‘Add Exception’.
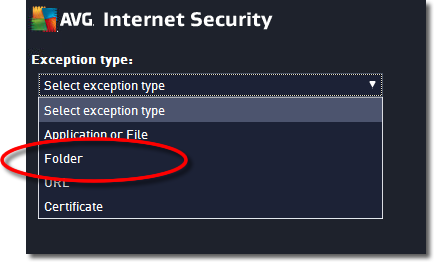
6. Exception Type
Select the ‘Folder’ option as the exception type.
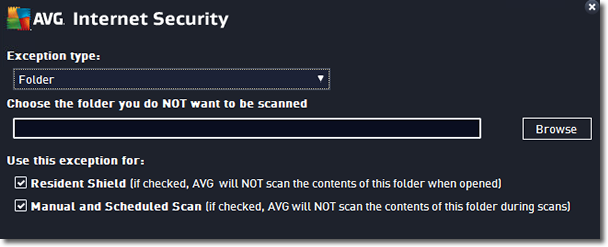
7. Browse Folders
Click onto the ‘Browse’ button and navigate to your Program Files or Program Files(x86) folder.
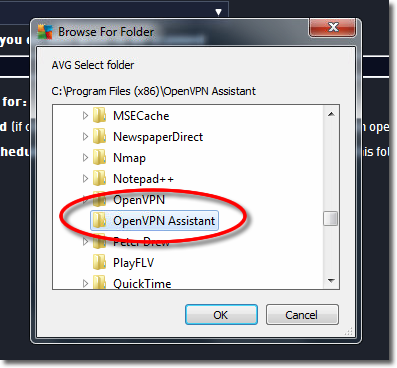
8. Select Folders
If you are using our OpenVPN Assistant software, select the following folders: OpenVPN, OpenVPN Assistant, TAP Windows. If you are using our Connection Assistant software, select the VPNUK Connection Assistant folder.
NOTE: If you are running a 64 bit system your OpenVPN Assistant software folder will be located inside the Program Files(x86) folder whilst the main OpenVPN application and TAP Windows folders will be located in Program Files folder.
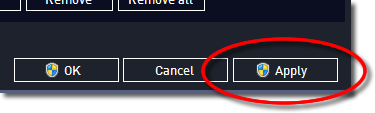
9. Apply
You will have to repeat the previous steps for all files. Once you have added all of the appropriate exception files click onto the ‘Apply’ button.
10. Enable AVG Protection
You can now re-enable your AVG Anti Virus and Firewall protection.