Setting up a VPNUK SMART DNS connection on Linux.
1. Registering your IP on the SmartDNS service
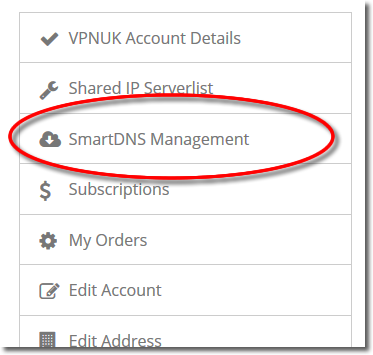
Login to the Members Area using your user account login username and password. Go to the ‘SmartDNS Management‘ menu item
3. Set my IP
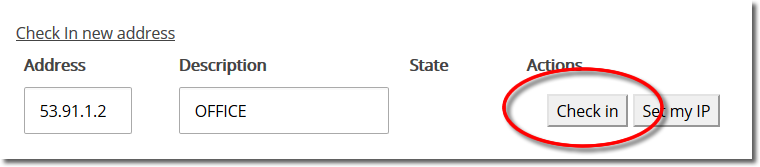
The Smart DNS system can set your current IP address if you do not know what it is. Click onto the ‘Set my IP’ button, that will reveal your current IP address in the Address field.
IMPORTANT: If you change location, or if your IP address changes you will need to check-in the new IP. For example, if you are using wi-fi, at home, and then go to an outside location and use a wi-fi hotspot, you will need to check-in that new IP address. You will then need to check-in your home IP once you return home. Each IP address you use to access the internet has to be checked in before you can access the SmartDNS service.

4. Check in your IP
You can add a description for the IP or hostname you are checking into the Smart DNS system, once you are happy with the Address and the Description click onto the ‘Check in’ button.
5. Registered
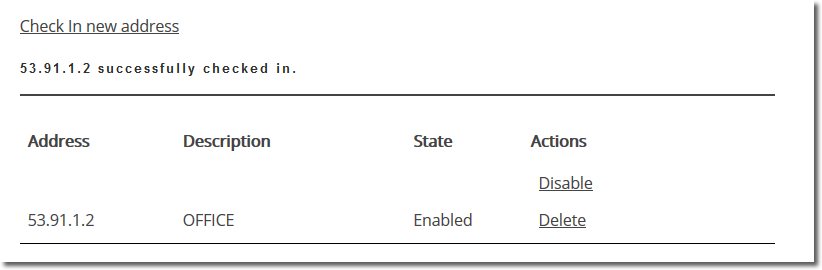
The Smart DNS system will confirm your IP address has been registered, it takes just a couple of seconds become enabled on the service.
6. Get SmartDNS IP
Scroll down to the ‘SmartDNS Server Settings’ section.
7. Copy IP
Copy or make a note of a ‘SmartDNS Server IP’ that you would like to use, you will need this later in the setup.
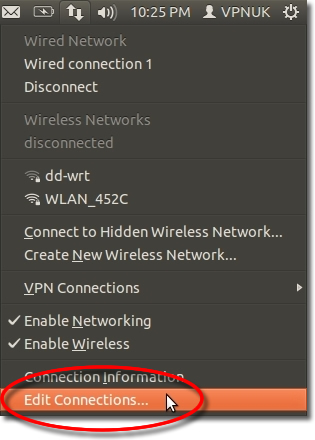
8. Network Connections
Go to ‘Network Connections’.
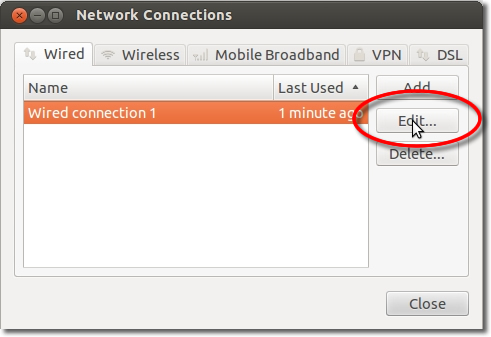
9. Edit
Select your active connection and click the ‘Edit’ button.
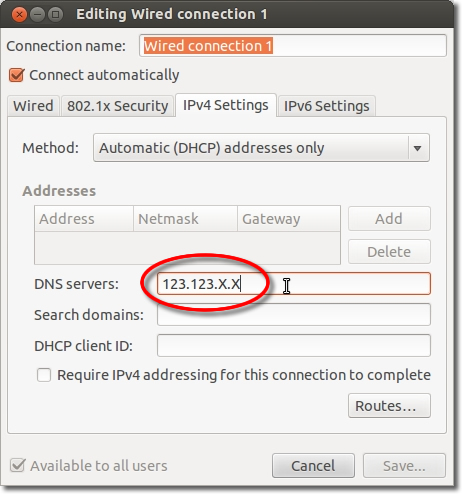
10. IPv4 Settings
Select the ‘IPv4 Settings’ tab and select ‘Automatic (DHCP) Addresses Only’ or ‘Static’ (depending on your setup) from the Method list.
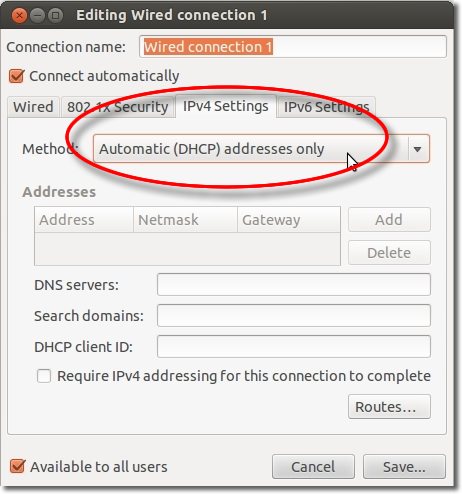
11. SmartDNS IP
Enter the ‘Smart DNS server IP’ into the ‘DNS Servers’ textarea.
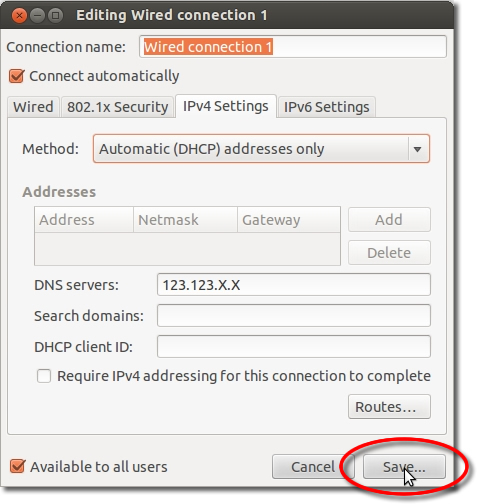
12. OK
Click ‘OK’.
VPNUK Connection Setup Tutorial
Thats It! In order to be sure the settings are active you should Disable/Enable the internet connection or reboot your computer.
SmartDNS Cache Troubleshooter
Q. I have removed your SmartDNS settings or they are not enabled but I keep getting your Listener page?
A. You have cache’ing turned on or your settings or your browser settings are storing cache’d pages. We need to turn that off in the browser and clear your cache.
Safari Browser
Go to Safari > Preferences > Check – Show developer options > From menu in Safari Browser click onto ‘Developer’ and then click clear caches and disable caches.
Internet Explorer
Go to Control Panel > Internet Options > Settings > Everytime I vist the page
Firefox
Go to Tools > Options > Advanced > Cached web content >Clear now – then you can check override and limit it to 1mb
Chrome
Open Chrome and enter the following address: chrome://settings > Privacy > Clear browsing data – Make sure cached images and files is checked then click clear