Setting up L2TP/IPSec VPN access under Ubuntu GNU/Linux.
This tutorial describes how to configure and setup a L2TP VPN connection in GNU/Linux using the network manager. The L2TP/IPSec applet builds on a variety of Unix and Unix-like operating systems including Linux and Solaris, this tutorial is based on Ubuntu.
How to install the L2TP VPN connection for Debian Linux (Ubuntu):
1. Open Terminal Window
First you will need to install OpenSwan xl2tpd package:. Go to Application -> Accessories -> Terminal.

2. Install Openswan
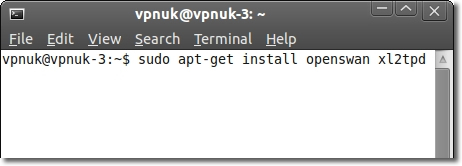
Run the command: sudo apt-get install openswan xl2tpd
3. Configuring Openswan
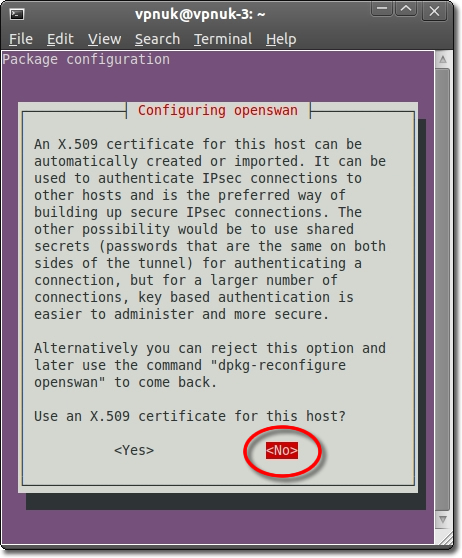
You may be asked if you would like to install certificates for this host. The VPNUK servers do not use certificates, we use shared secrets so you do not need to install the certificate.
4. Install l2tp-ipsec-vpn (pt1)
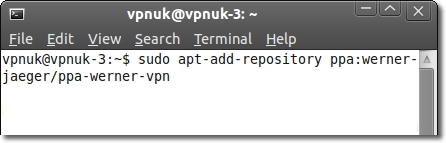
Enter the following command into the terminal window and click enter:
sudo apt-add-repository ppa:werner-jaeger/ppa-werner-vpn
5. Install l2tp-ipsec-vpn (pt2)
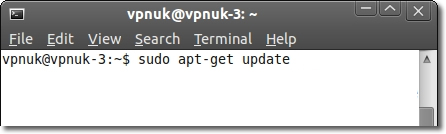
Enter the following command into the terminal window and click enter:
sudo apt-get update
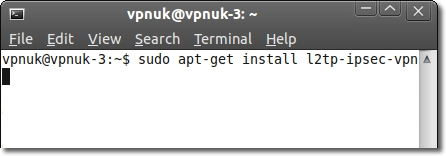
6. Install l2tp-ipsec-vpn (pt3)
Enter the following command into the terminal window and click enter:
sudo apt-get install l2tp-ipsec-vpn
7. Confirm Installation
If you are asked to confirm the installation enter ‘y’ and click enter.

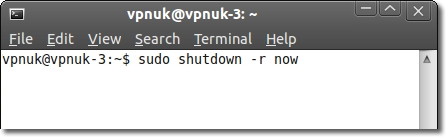
8. Reboot
Enter the following command into the terminal window and click enter:
sudo shutdown -r now
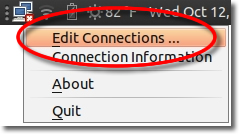
9. Edit Connections
Once rebooted, right click on the new ‘L2TP Network Manager’ icon on your desktop bar. This icon can be in the shape of 2 computer screens. Then choose ‘Edit Connections’.
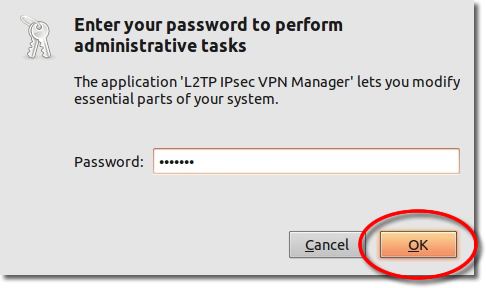
10. Administrator Permissions
You may be prompted for your administrator password, enter your password and click onto the ‘OK’ button.
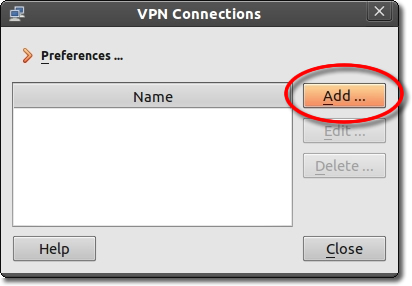
11. Add New Connection
Press the ‘VPN’ tab to ensure you are on the correct setup.
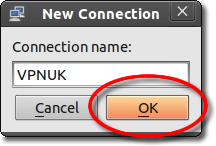
12. Connection Name
Enter the name for the new connection, then click ‘OK’.
13. Edit Connection
Click onto the ‘Edit’ button.

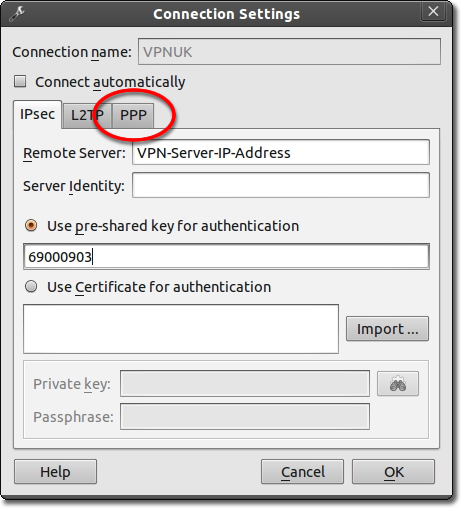
14. Conection Settings
Enter the IP of the server you are connecting to and the IPSec key: 69000903 then click onto the ‘PPP’ tab. You can find the server information in your ‘Welcome to VPNUK’ email or in the ‘Client CP‘ on the VPNUK website.
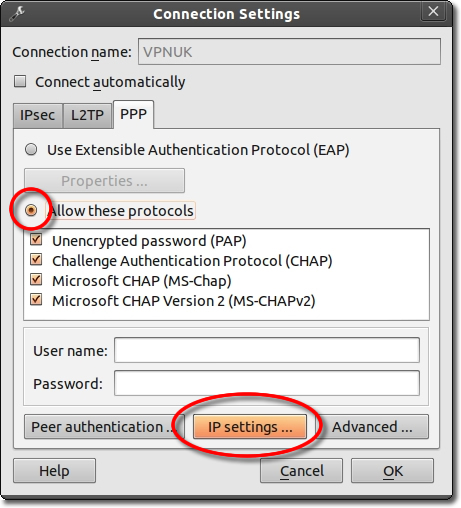
15. Connections Settings
Click onto the ‘Allow these protocols’ checkbox and click onto the ‘IP Settings’ Button.
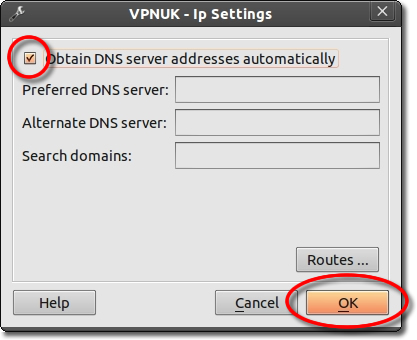
16. IP Settings
Place a tick in the ‘Obtain DNS server address automatically’ checkbox anf then click onto the ‘OK’ button.
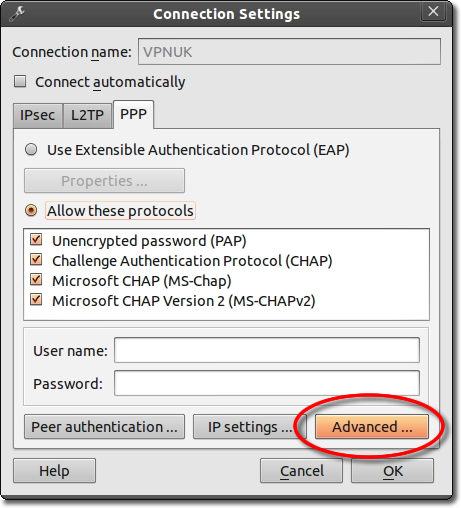
17. Advanced Options
Click onto the ‘Advanced’ button.
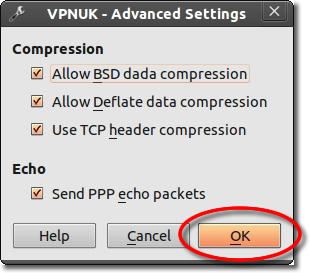
18. Advanced Settings
Ensure all of the compressions options are checked along with the option to send PPP echo packets, then click on ‘OK’.
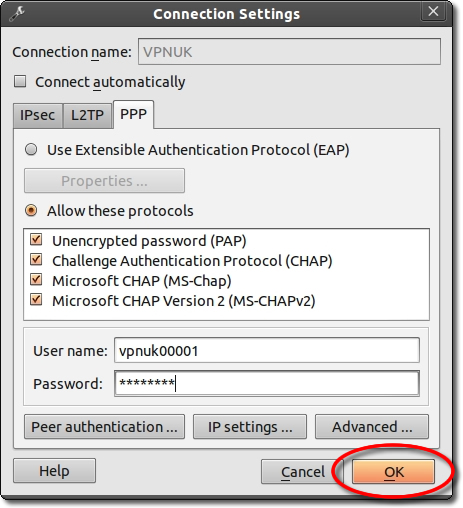
19. Login Details
Enter your login username and password then click onto the ‘OK’ button.
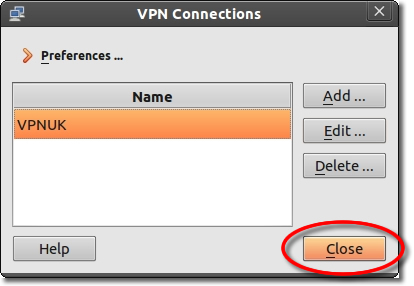
20. Connection setup complete
Thats it! You can now close the ‘VPN Connections’ window
21. Initiate Connection
Click onto the L2TP connection icon in the taskbar and click onto the L2TP connection that you created.

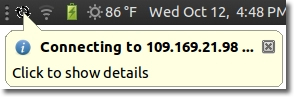
22. Connection Initilasing
A dialog box will open to inform you that the connection has initialised.
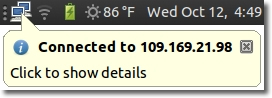
3. Connected!
Once Connected a dialog box will open and the L2TP icon will change into two active screens
Troubleshooting Guide
ISP DNS Hijack / DNS Leak Protection
Some ISPs will attempt to hijack your DNS settings which hinders the VPN connection from functioning correctly. If you find that your VPNUK connection does not route your traffic correctly you can try changing your Public DNS server to the VPNUK DNS server or to an alternative like Google DNS.
1. Go to the VPNUK connection and click Edit, in the window that appears, select the IPv4 Settings tab.
2.
If the selected method is Automatic (DHCP), open the dropdown and select Automatic (DHCP) addresses only instead. If the method is set to something else, do not change it.
3.
In the DNS servers field, enter the VPNUK Public DNS server: 109.169.6.2 or the Google Public DNS IP addresses: 8.8.8.8 and 8.8.4.4
4.
Click Apply to save the change.
7.
Thats it!