About Viscosity
Viscosity is free to evaluate for 30 days. A license costs $14.00 USD from Spark Labs.
Download ViscosityMac OSX Viscosity / OpenVPN Setup
Viscosity provides a complete OpenVPN solution for Mac OSX 10.5 and higher — no additional software required. Viscosity has an import option which makes setting up the VPN connection on your Mac very easy. If you would like to try Viscosity it is free for the first 30 days. If you would like to keep it after that time it costs just $14.00 USD to purchase a license from its development team Spark Labs.
First, download the VPNUK OpenVPN config files using the button below. Our system will automatically email your config files to you so that you can save them to your system and add them into Viscosity. You can configure as many different servers as you like.
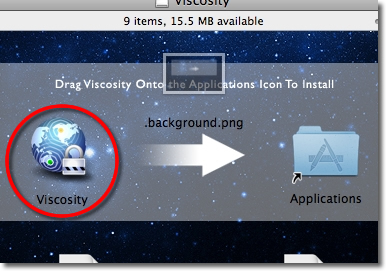
Begin the Installation Process
In order to begin the installation you need to drag the Viscosity icon onto the 'Applications' icon.
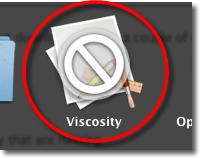
Open Viscosity
Go to 'Applications' and double click the 'Viscosity' icon to begin the installation.
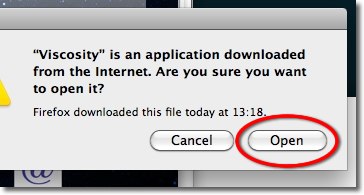
Confirm
Click onto the 'Open' button if you are prompted for confirmation.
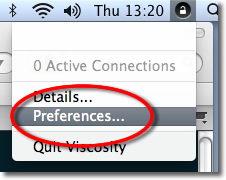
Viscosity Icon
Click onto the Viscosity icon from the taskbar and choose 'Preferences'.
Import Connection Settings
Click onto the '+' icon and select 'Import Connection → From File' in order to import the VPNUK OpenVPN settings.

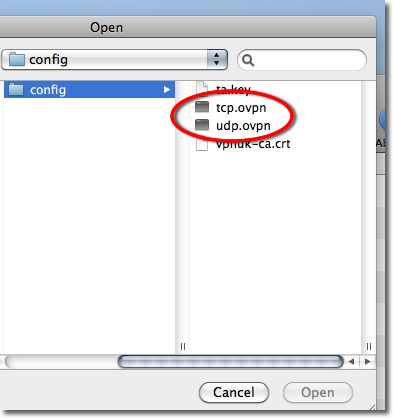
Locate Config Files
Navigate to the config file you downloaded earlier and select the .ovpn config file.
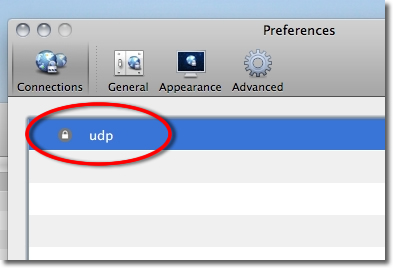
Finalise Configuration
Double click onto the connection.
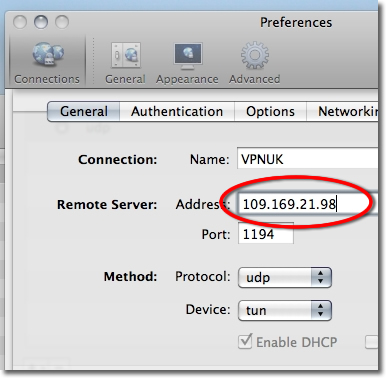
Account Settings (Optional)
From the 'General' tab you can edit the IP of the server you are connecting to in the 'Remote Server – Address' field. You can find the server information in your 'Welcome to VPNUK' email or in the Members Area on the VPNUK website.
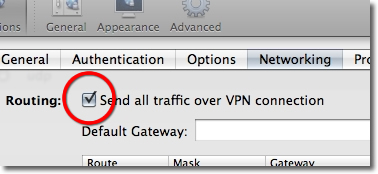
Networking
Click onto the 'Networking' tab and place a check in the routing option to 'Send all traffic over the VPN connection'.
Save Settings
Click onto the 'Save' button to save the settings.
Connect!
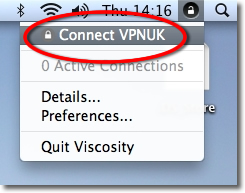
You have now successfully set up the VPNUK connection on Viscosity. Click onto the Viscosity icon in the taskbar and select 'Connect'.
Login Details
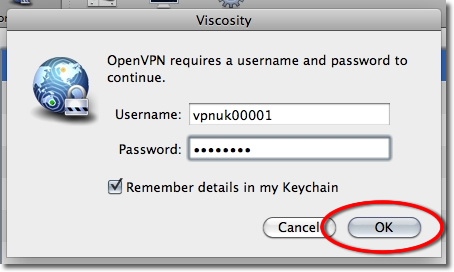
The first time you connect to VPNUK through Viscosity you will be asked to enter your login 'Username' and 'Password'. You can save these details in the keychain and not receive this prompt in the future.
Connected!
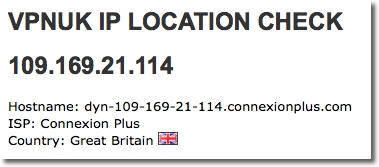
You will have now successfully logged into your VPNUK account using Viscosity. You can verify your IP address has changed at vpnuk.info/ip or by going to any IP location website.
Troubleshooting
Your VPNUK account should work first time, every time. If you ever experience any problems with your VPN connection, contact us on our Live Help service — we can offer instant assistance with all connection issues and get you back online.
Contact Support