Setting up a VPNUK AnyConnect Connection on Mac OS X.
This tutorial will guide you through the setup of an AnyConnect VPN connection using the Cisco AnyConnect Secure Mobility Client application.
1. Download AnyConnect
Download the AnyConnect application from our server here:
AnyConnect for Mac OSX

2. Install AnyConnect
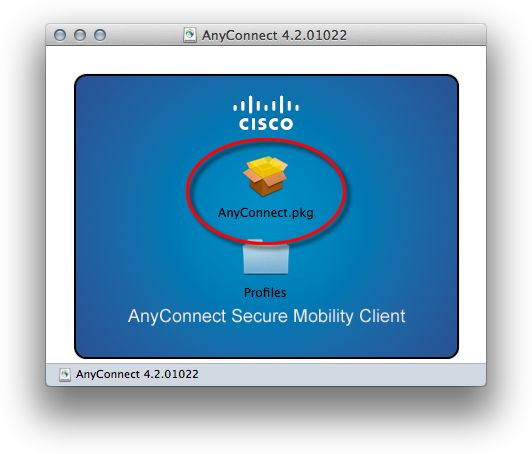
Open the AnyConnect installer by clicking onto the DMG file.

3. Install AnyConnect
Click onto the AnyConnect.pkg installer file.
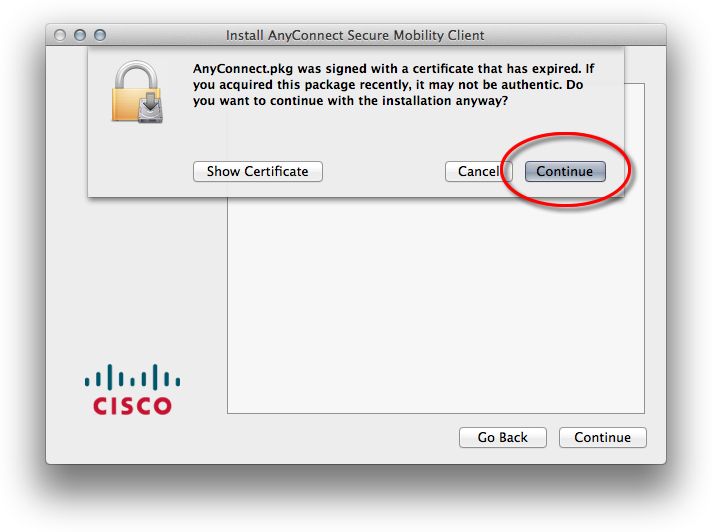
4. Certificate
Click onto the ‘Continue’ button.
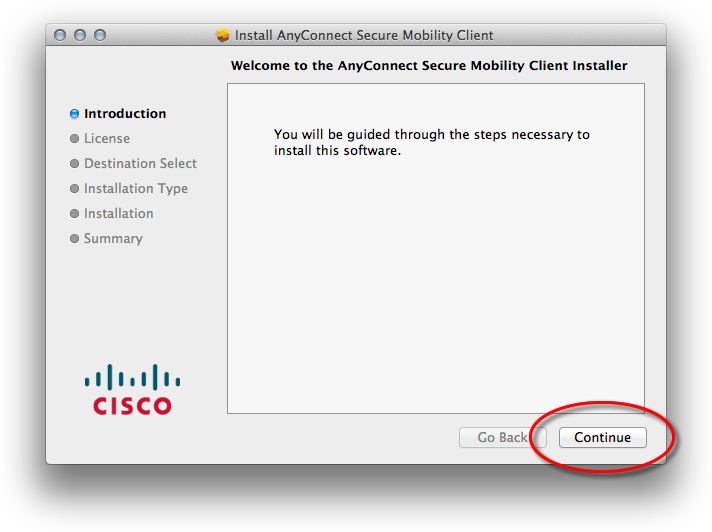
5. Introduction
CLick onto the ‘Continue’ button.
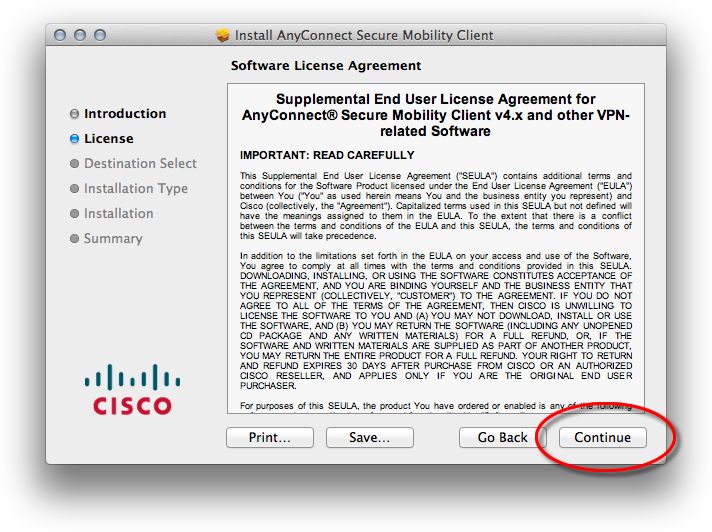
6. License
Agree to the license by clicking onto the ‘Continue’ button.
7. Installation Type
Uncheck all packages except for ‘VPN’, and then click ‘Continue’.

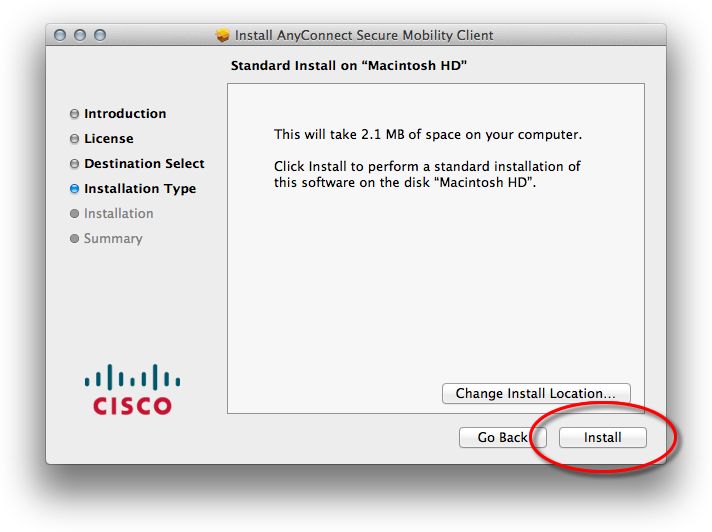
8. Installation Type
Click onto the ‘Install’ button.
9. Confirm
You may need to confirm the installation by entering your Mac administrator password.

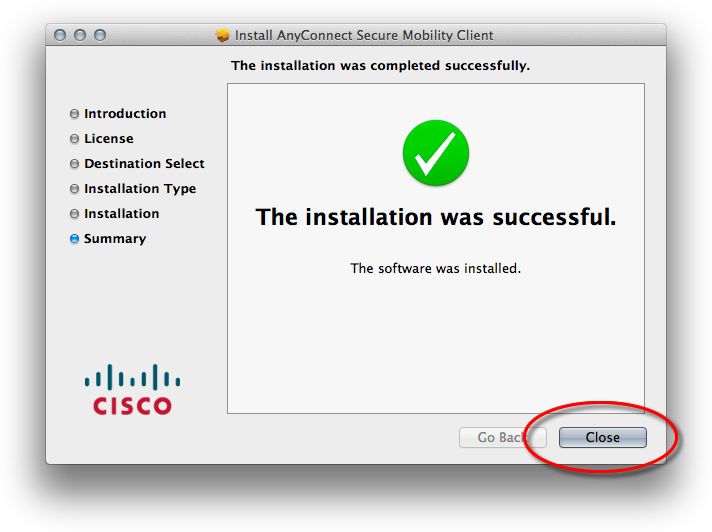
10. Install Complete
WHen the installation is complete, click onto the ‘Close’ button.
11. Open AnyConnect
Open the AnyConnect app from > Applications > Cisco > Cisco AnyConnect Secure Mobility Client.
Tip: You can drag this application into your quick launch bar.


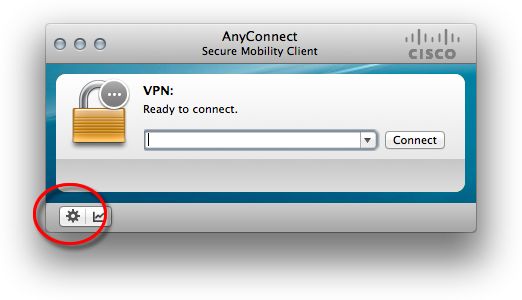
12. Settings
Click onto the Settings cog.
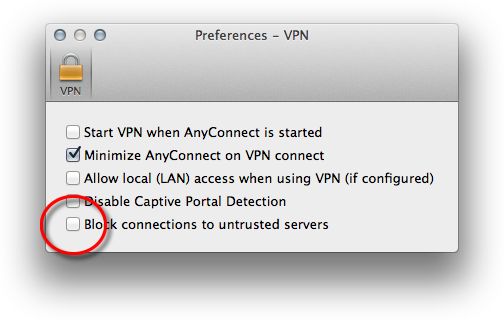
13. Preferences
Uncheck the option to ‘Block connections to untrusted servers’
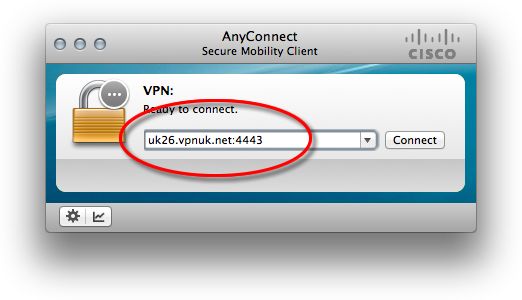
14. Enter Server details
Return to the main overview window and enter your VPNUK server into the VPN input.
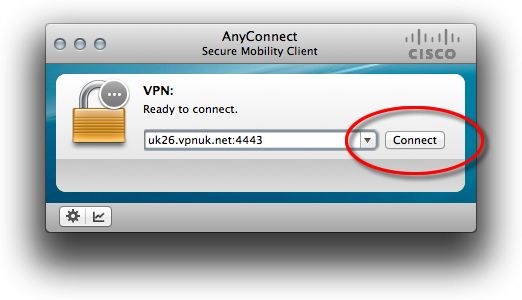
15. Connect
Click ‘Connect’.
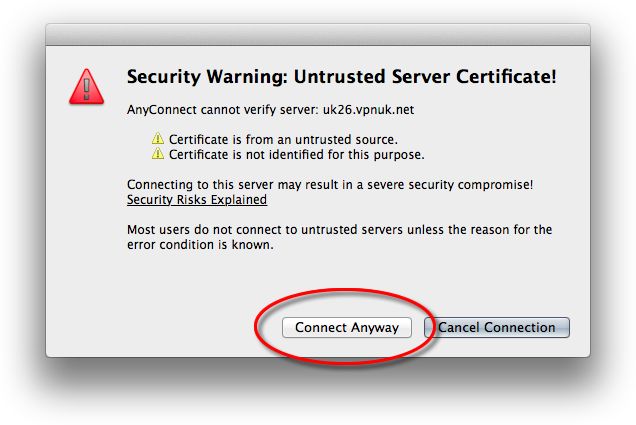
16. Allow Connection
The first time you connect to VPNUK through AnyConnect you will receive a prompt. All of our servers have valid SSL certificates.
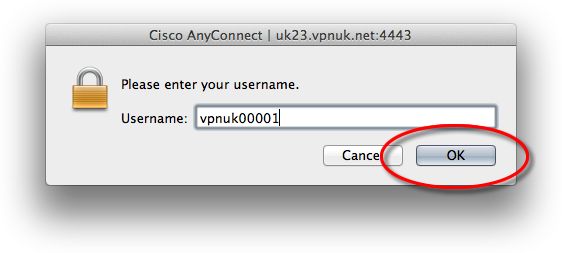
17. Username
Enter your login Username
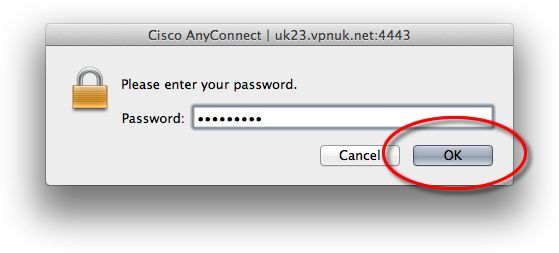
18. Password
Enter your login password.
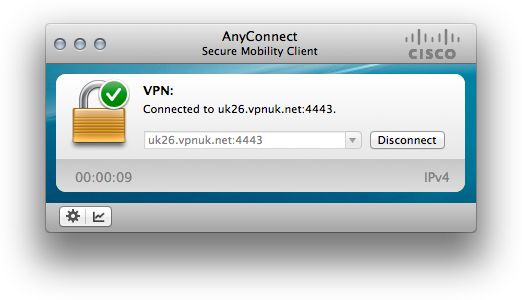
19. Connected
Your VPN should now be connected