AnyConnect Setup Tutorial for Apple iOS Devices
The following instructions go step–by–step through an AnyConnect installation on Apple Devices.
1. Install Cisco AnyConnect Secure Mobility Client
Go to the App Store and search for ‘Cisco AnyConnect’, then install it.
If you have any problems downloading or installing files please contact our Live Help team, we are always available to help.

2. Open Cisco AnyConnect
Locate Cisco AnyConnect on your home screen and open it.

3. Settings
Click onto ‘Settings’ and then toggle OFF the option to ‘Block Untrusted Servers’.

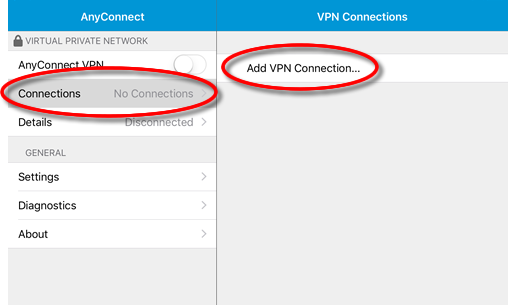
4. Add VPN Connection
Click onto ‘Connections and then click ‘Add VPN Connection’.
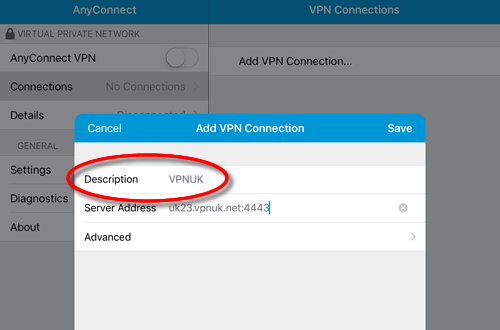
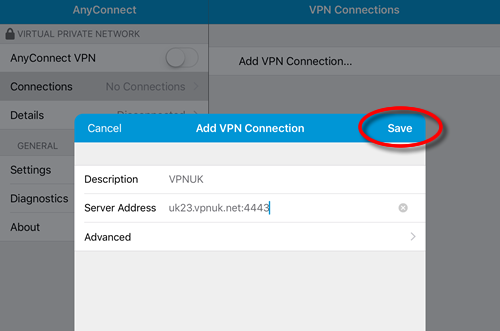
5. Description
Enter any Description for your connection.
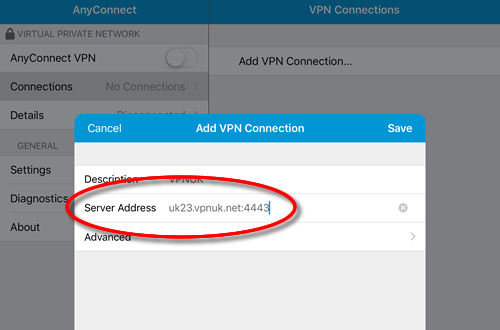
6. Server Address
Input your server details.
Server Address: Enter the server IP or DNS address of the server you would like to connect to, followed by a colon and port number 4443.
For example, if your account is located on UK23, you would enter its DNS address as: uk23.vpnuk.net:4443 or its IP followed by :4443
7. Save
Click onto ‘Save’, to save your server settings.
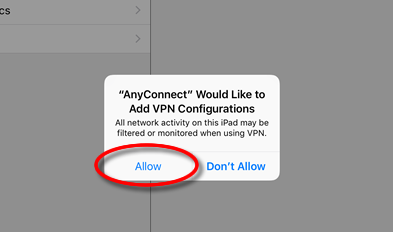
8. Allow Configuration
AnyConnect needs permission from you to create the new connection, click onto ‘Allow’.
9. Enter Passcode
If you use a passcode, you will have to enter it here in order to confirm the configuration.

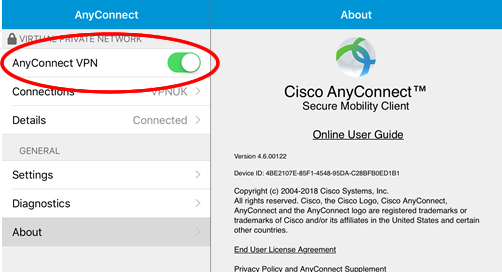
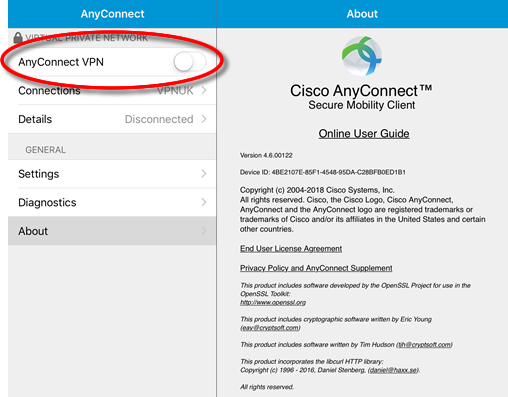
10. Connect VPN
You can now toggle the AnyConnect VPN connection to the ON position.
11. Confirmation
If you receive an untrusted server prompt click onto ‘Continue’. If you are unsure of, or would like to view the server identity, click ‘Details’, the certificate is issued to VPNUK.

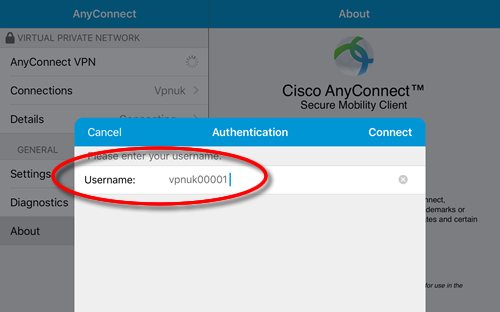
12. Enter Username
Enter your login username into the ‘Username’ field, then click onto ‘Connect’.
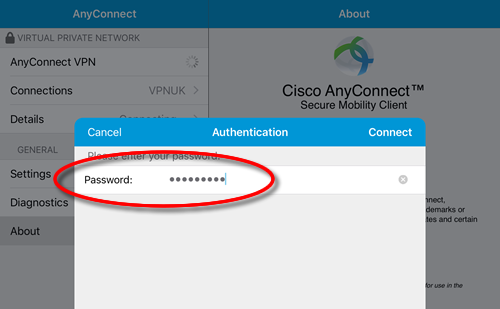
13. Enter Password
Enter your login password into the ‘Password’ field, then click onto ‘Connect’.
13. Connected
You should now be connected to the VPN.