OpenConnect Setup Tutorial for Windows
The following instructions go step–by–step through an OpenConnect installation on Windows.
1. Download OpenConnect
Download the OpenConnect from here: OpenConnect Windows .
If you have any problems downloading or installing files from our server please contact our Live Help team, we are always available to help.
![]()
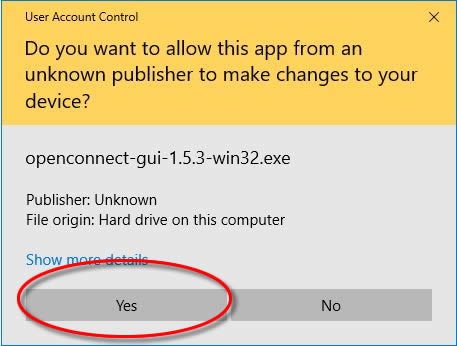
2. Unknown Publisher
You may receive a Windows UAC prompt, click ‘Yes’, the software is perfectly safe to use.
3. Run Installer
Run the installer application.
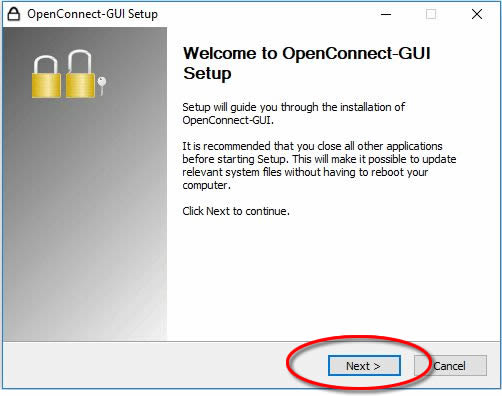
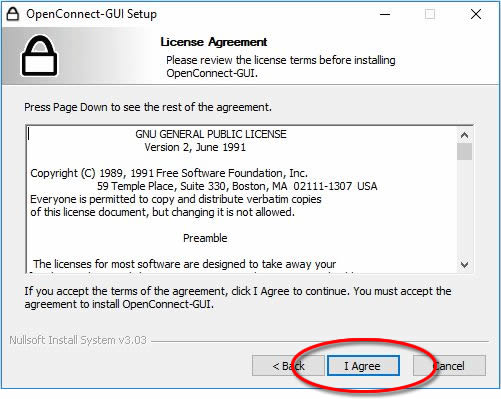
4. Install OpenConnect
Click ‘I Agree’ to initiate the installation.
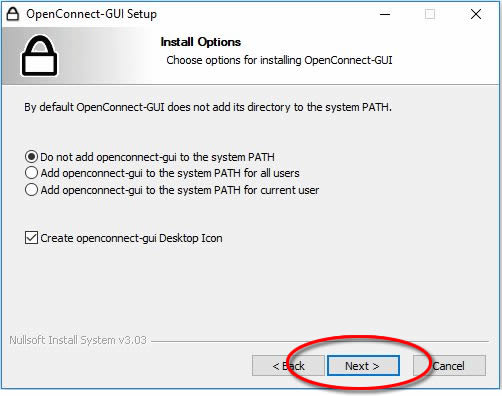
5. Installation Options
You may wish to create a desktop shortcut. Then click ‘Next’ to confirm the installation options.
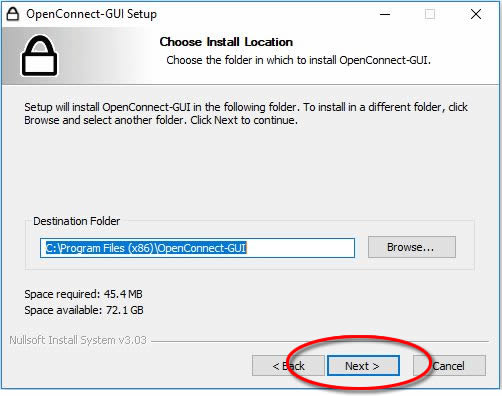
6. Install Location
If you are happy with the installation location click ‘Next’.
7. Start Menu Folder
Confirm the shortcut folder, then click ‘Next’.

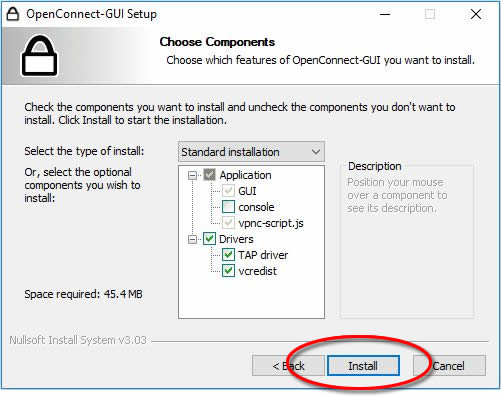
8. Choose Components
Click onto the ‘Install’ button.
9. Finish Installation
Click onto the ‘Finish’ button. The OpenConnect software application will now be installed on your system.
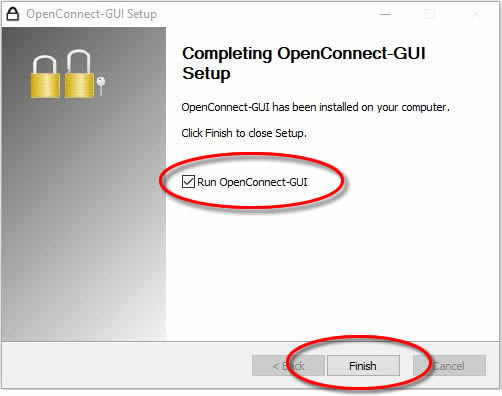
10. Run OpenConnect GUI
If the GUI does not automatically open, double click onto the OpenConnect desktop shortcut.

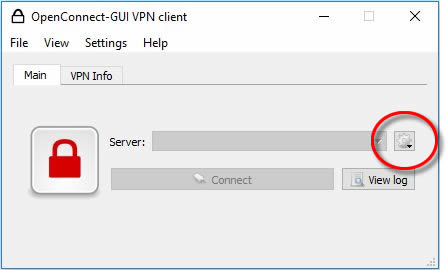
11. Creating a new profile
Click onto the ‘Options’ button to begin the configuration of a new OpenConnect Profile.
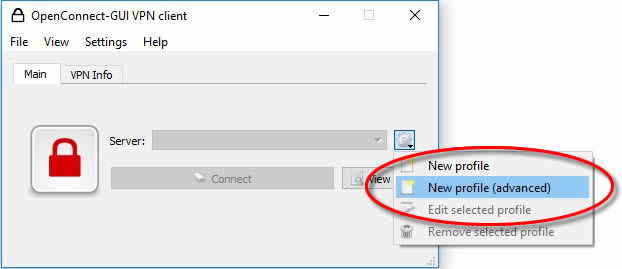
12. New Profile (advanced)
Select the option to add a ‘New Profile (advanced).
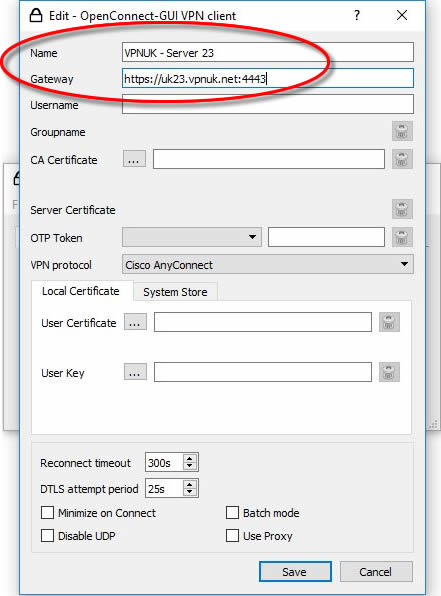
13. Server Details
Input your server details.
Name: Any name you choose. (We recommend adding a name you will easily recognise, if you pla n on adding multiple profiles).
Gateway: Enter the server IP or DNS address of the server you would like to connect to, followed by a colon and the port number.
For example, if your account is located on UK23, you would enter its DNS address as: https://uk23.vpnuk.net:4443 or its IP followed by :4443
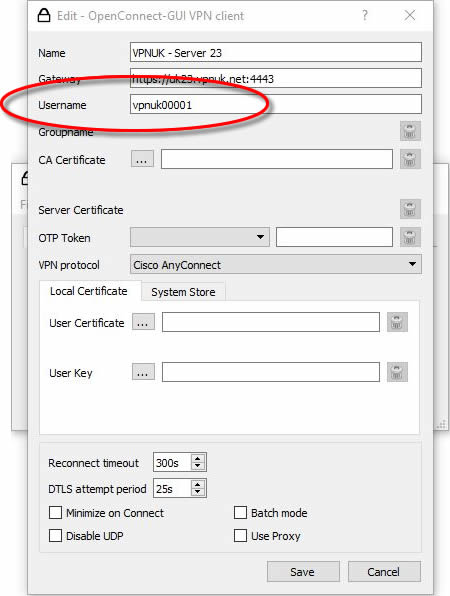
14. Username
Enter your login username into the ‘Username’ field.
15. CA Certificate
Click here: Updated OpenVPN .crt Certificate File to download and save our VPNUK CA Certificate file. You do not have to open the file, you only have to extract the zipped file to your computer.
16. Import Certificate File
Click onto the ‘Import’ button and locate the ‘vpnuk-ca.crt’ certificate file.
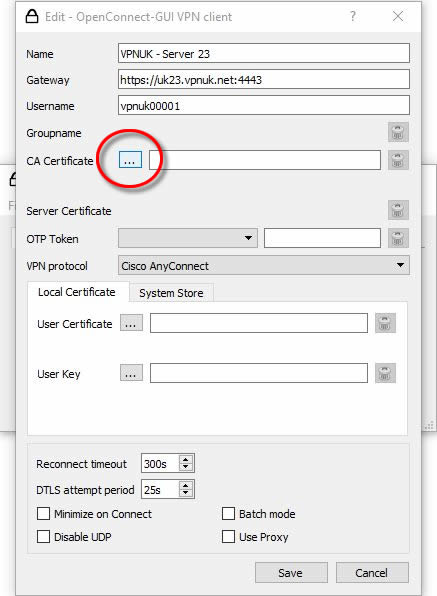
17. Save Configuration
Click onto the ‘Save’ button.
Note: If you would like the OpenConnect GUI to remember the password for this profile, place a check in the ‘Batch mode’ checkbox.

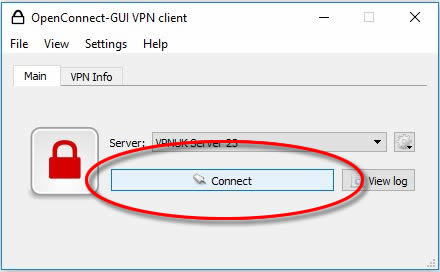
18. Connect
Your OpenConnect profile will now be available on the list of Servers. You can now connect by clicking onto the ‘Connect’ button.
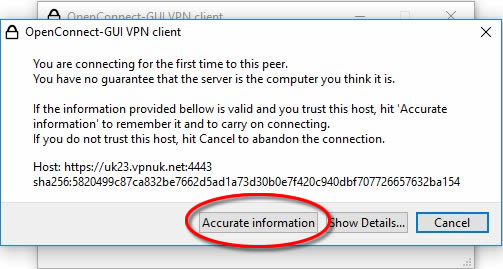
19. Profile Trust
The first time you connect to your newly created profile you will be asked to confirm the connection is genuine. You can review the information tallies up correctly and points to our security certificate, then click onto ‘Accurate information’.
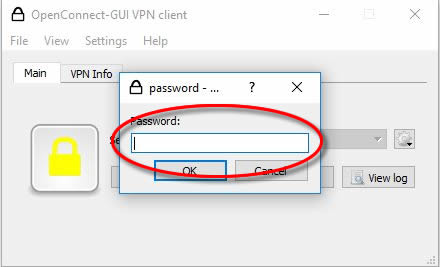
20. Enter Password
Enter your connection password.
Note: If you placed a check into the ‘Batch Mode’ checkbox during the Profile configuration, this will be the only time the OpenConnect GUI will ask for your password.
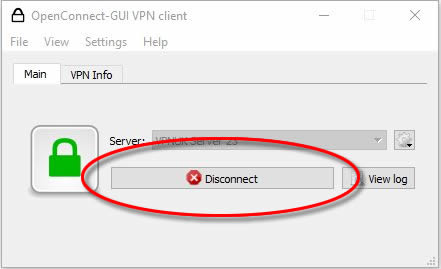
21. Connected.
You will now connect to your VPNUK server. If you would like to disconnect, click onto the ‘Disconnect’ button.