Setup VPNUK OpenVPN on Chrome OS
This tutorial describes how to configure and setup an OpenVPN connection on Google Chrome OS.
Firstly, you will need to download and install two certificate configuration files, we’ll go through that with you here in this tutorial.
Download the VPNUK config files
Before we begin with the OpenVPN setup you will need to download two files that are require as part of the connection. Download our OpenVPN .p12 file from here: ChromeOS .p12 Configuration File . Once downloaded, you should extract this file to your drive. Now [wp_colorbox_media url=”https://clientcp.vpnuk.info/vpnuk/clients/device_script.php?t=c” type=”iframe” hyperlink=”Click Here”] to open our server configuration tool which will assist you in configuring your OpenVPN connection. You can then download and save your OpenVPN configuration file to your drive. You can also download these files from your members area control panel here.
1. Certificate Manager
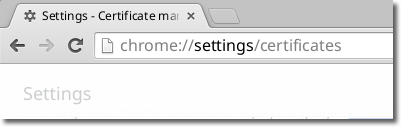
Go to your Certificates Manager by entering to chrome://settings/certificates in your Chrome browser.
2. Import Certificate
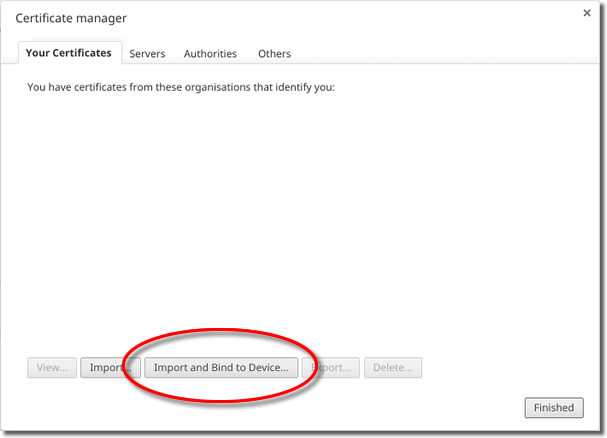
Click onto the ‘Import and Bind to Device’ button
3. Select Certificate
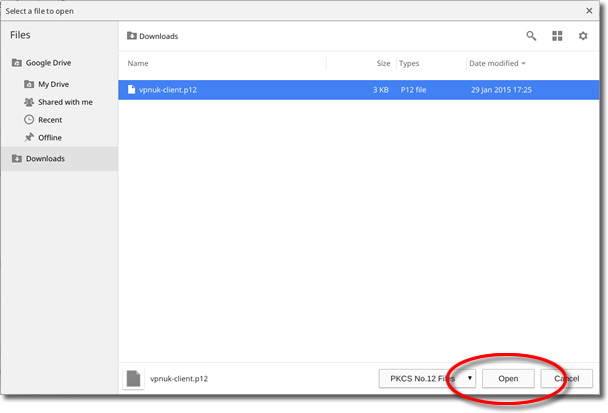
Select the vpnuk-client.p12 file that you downloaded earlier and click ‘Open’.
4. Password Prompt
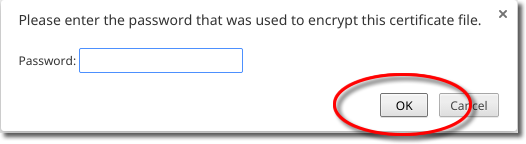
A password screen may pop up, leave the field blank and click ‘OK’.
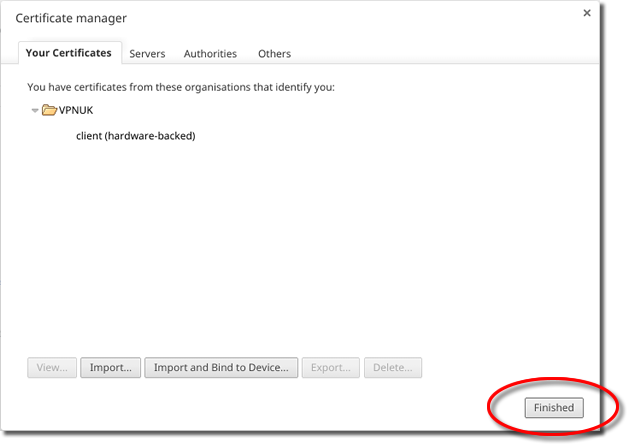
5. Certificate Installed
You should now see the VPNUK certificate store updated with your certificate as ‘client (hardware-backed)’.
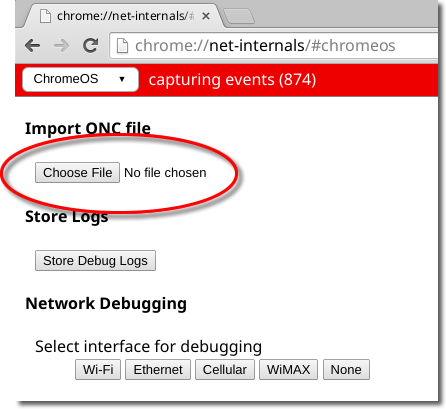
6. Install ONC File
Go to chrome://net-internals/#chromeos in your Chrome Browser and click onto the ‘Choose File’ button to import your ONC file.
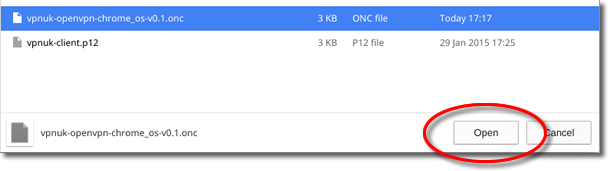
7. Select File
Go to the location of the configuration file that you downloaded earlier and select the .onc configuration file, then click ‘Open’.
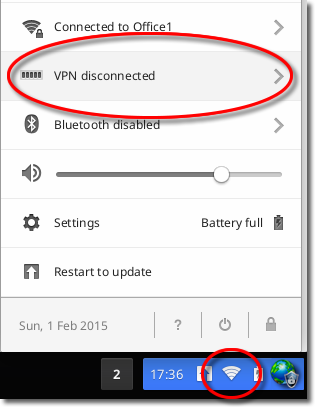
8. Connecting to VPNUK
Open your network preferences and select the ‘VPN Disconnected’ option from the list.
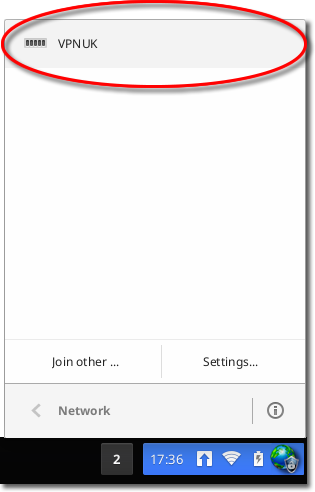
9. Choose VPNUK Connection
Click onto the VPNUK connection from the list of available connections.
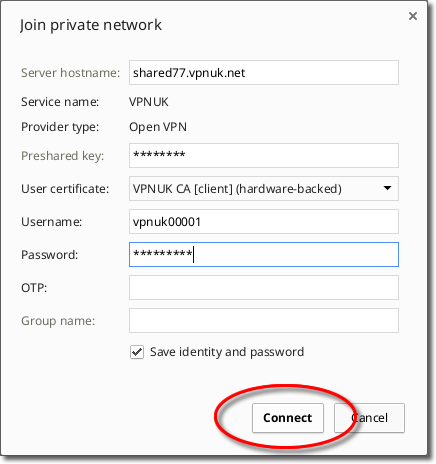
10. Connect
The first time you connect to the VPNUK service you will need to enter your login password, you can then click onto ‘Connect’.
Advanced Settings
1. Open the .onc configuration file that you have on your drive.
2. Go to line
23 and only change the port number from: “Port”: 1194, to: “Port”: 443,
3. Go to line 24 and only change the protocol from:
“Proto”: “udp”, to: “Proto”: “tcp”,
4. Save and close the file.