Setting up PPTP access under Windows 10.
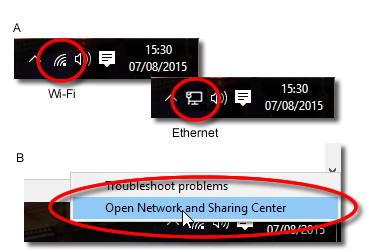
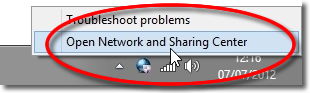
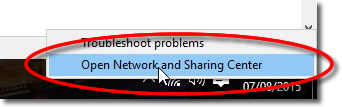
1. Open Network and Sharing Centre
Right click onto your networking icon in the sys tray (fig. A) and select ‘Open Network and Sharing Centre’ (fig. B).
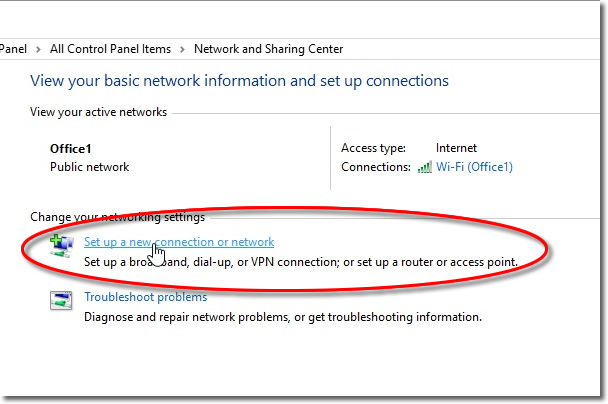
2. Set up the PPTP VPN connection
Click on ‘Set up a new connection or Network’.
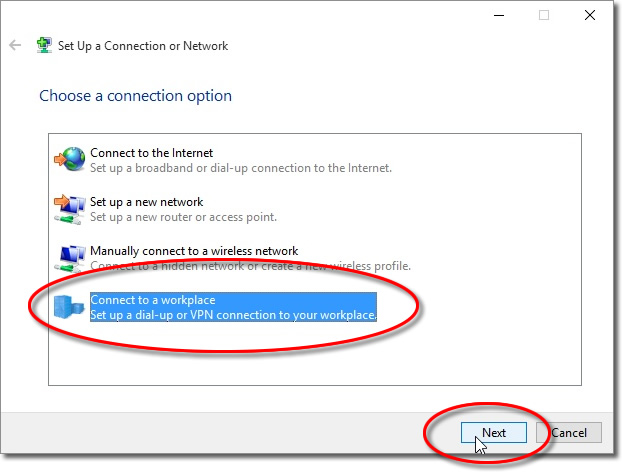
3. Choose the Connection Type
On the next screen, click on ‘Connect to a workplace’ then click ‘Next’.
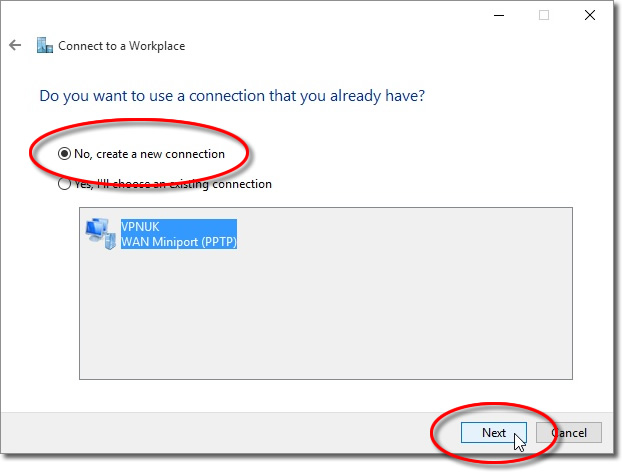
4a. Create a new connection (if it appears)
If you are asked if you would like to use an existing connection choose ‘No, create a new connection’.
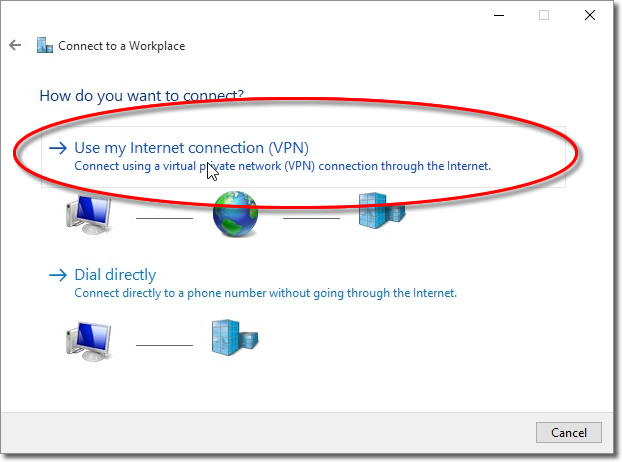
4b. Use my Internet Connection (VPN)
Select the option to ‘Use my Internet connection (VPN)’.
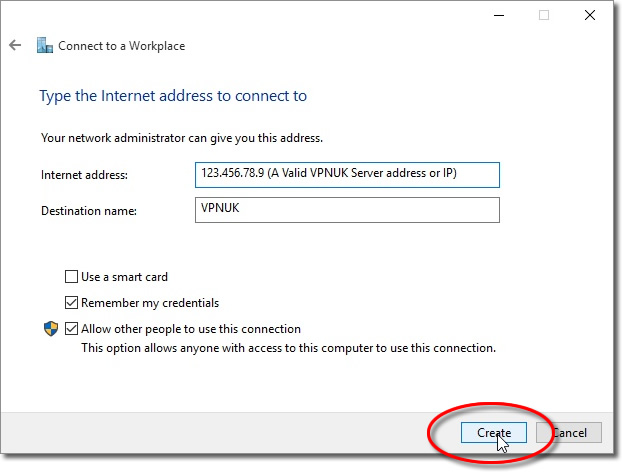
5. Enter the server information
Enter a server name or IP into the Internet address field and a friendly name for this connection into the Destination name field. Clients on the Shared IP platform can enter any of our servers from the Shared IP pool of servers, Dedicated IP users should enter the server their unique IP address corresponds to. Place a tick in the checkbox labeled ‘Remember my credentials’ then click the ‘Create’ button. You can find the server information in your ‘Welcome to VPNUK’ email or in the ‘Client CP‘ on the VPNUK website.
6. Open Networking
Right click onto the networking icon in the sys tray and select ‘Open Networking and Sharing Center’.
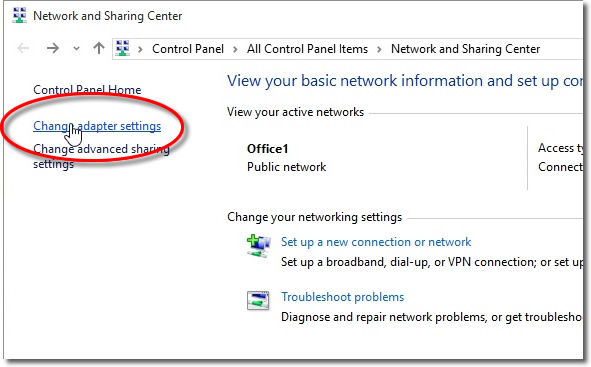
7. Change adapter settings
Click onto the ‘Change Adapter Settings’ menu option.
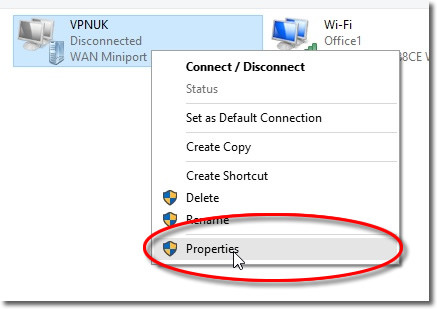
8. Connection Propeties
Right Click onto the VPNUK connection and select ‘Properties’.
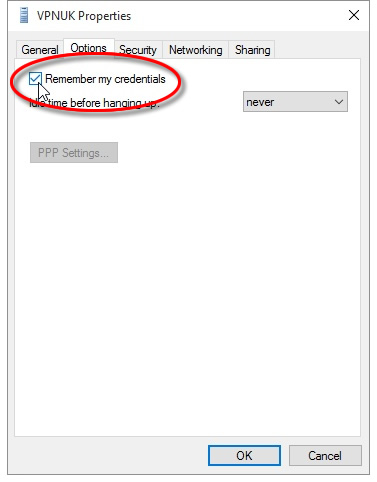
9. Remember Credentials
Select the ‘Remember my credentials’ option, then click onto the ‘Security’ tab.
10. Choose The ‘Type of VPN’
From the dropdown menu choose the ‘PPTP’ option..
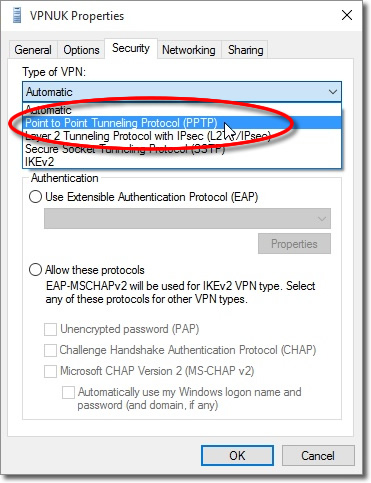
11. Disable IPv6
Uncheck the IPv6 option and then click onto the ‘OK’ button to save all the changes.

12. Connect to VPNUK
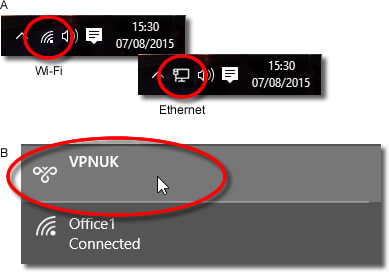
You have now configured the VPNUK connection on Windows 10. Click onto your networking icon in the sys tray (fig. A) which will open the Network Settings overview, then click onto the VPNUK connection (fig. B).
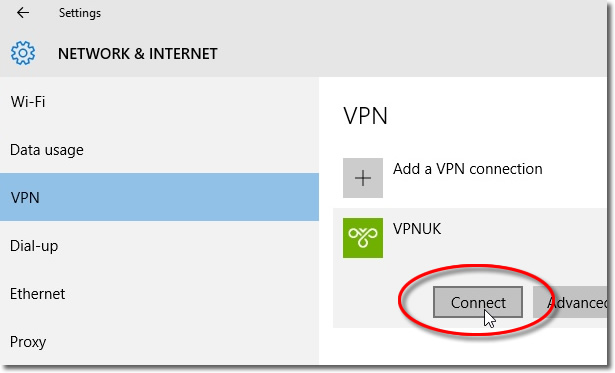
13. Click Connect
Select the VPNUK connection that you would like to connect to and click ‘Connect’.
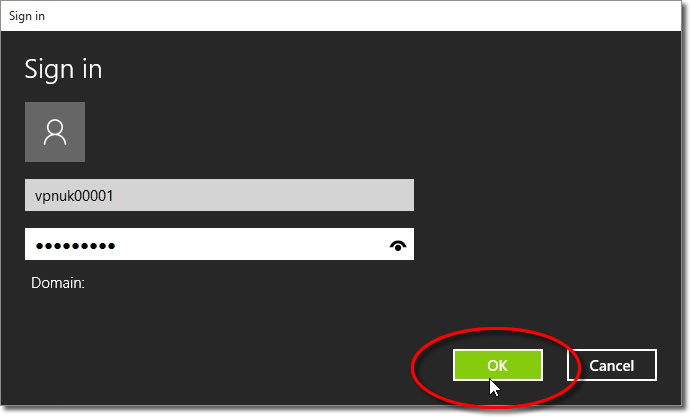
14. Connect
The first time you connect to the VPN you will be asked to enter your login username and password. Once the details are entered click OK to connect!
Troubleshooting Guide
ISP DNS Hijack / DNS Leak Protection
Some ISPs will attempt to hijack your DNS settings which hinders the VPN connection from functioning correctly. If you find that your VPNUK connection does not route your traffic correctly you can try changing your Public DNS server to the VPNUK DNS server or to an alternative like Google DNS.
1. Right click onto your network connection icon in the sys tray and select ‘Open Network and Sharing Centre’.
2. Go to ‘View Network Adapters’ from the left hand menu.
3. Right click onto your active Ethernet or Wireless Connection
and select ‘Properties’.
4. Double click onto ‘TCP/IPv4’ from the list of items.
5. Enter a DNS IP into the DNS server box. Google DNS is 8.8.8.8. VPNUK Public DNS is: 109.169.6.2