Setting up PPTP access on Android devices.
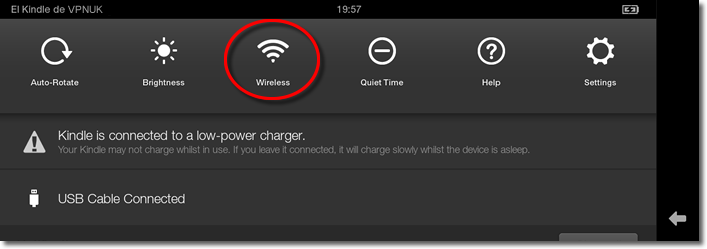
1. Go to Wireless Settings
First, from the ‘Home’ screen, Pull your notification bar down and select the ‘Wireless’ option.
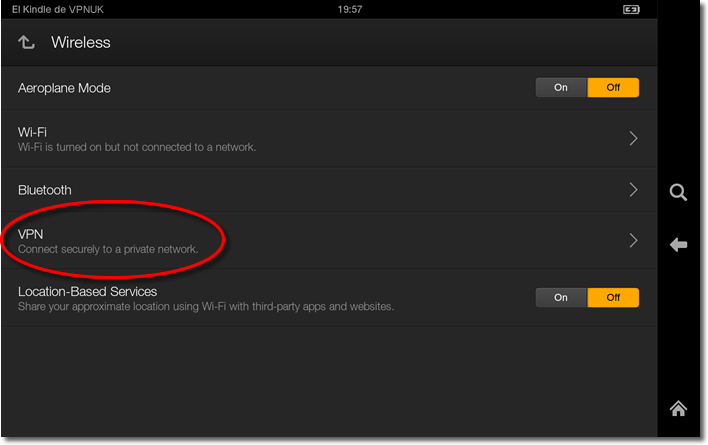
2. Go to VPN.
Next, select ‘VPN’.
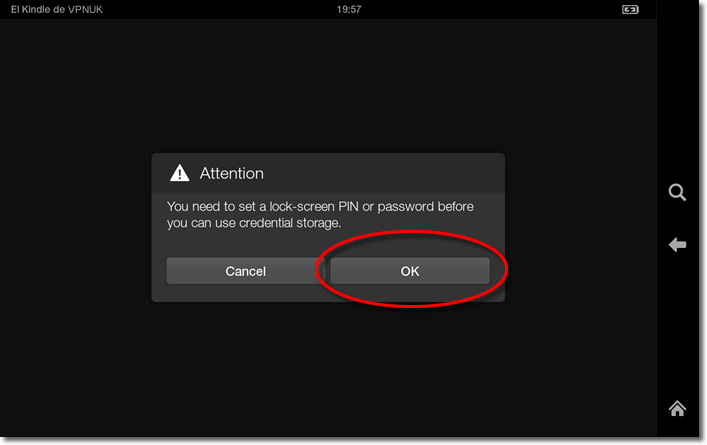
3. Lock Screen.
If you do not already have a ‘Lock-Screen’ you will now be asked to set one.
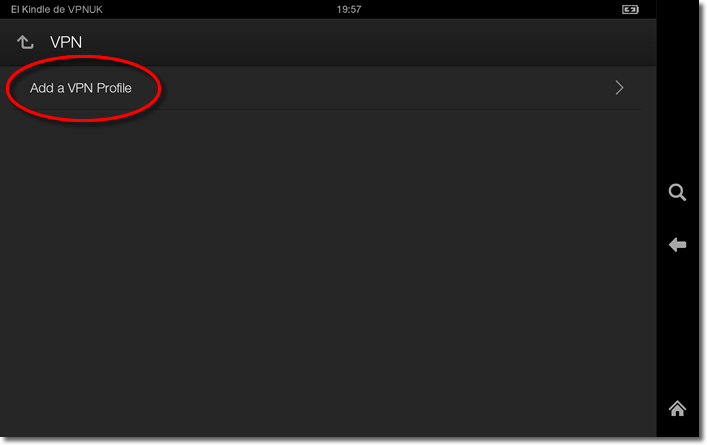
4. Add VPN Profile.
Next, click onto ‘Add VPN Profile’.
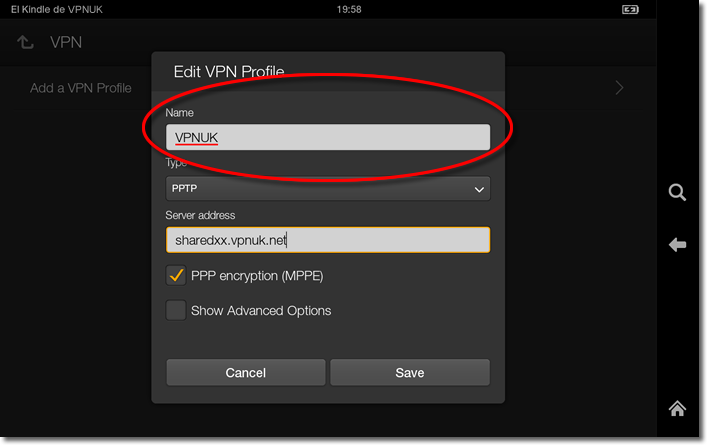
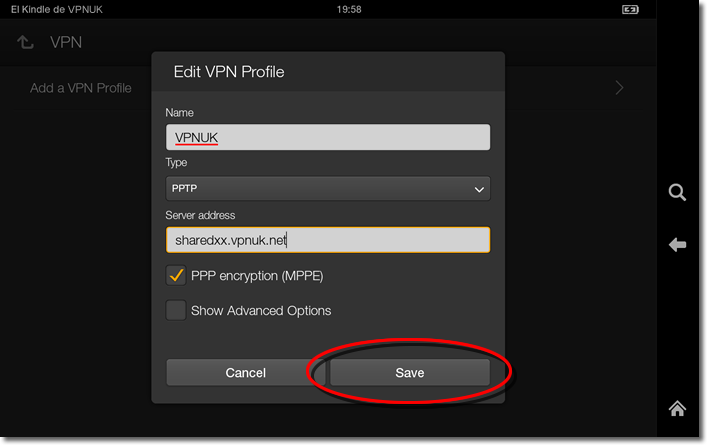
5. Connection Name
You can now begin adding your login and server details, the name can be anything you like.
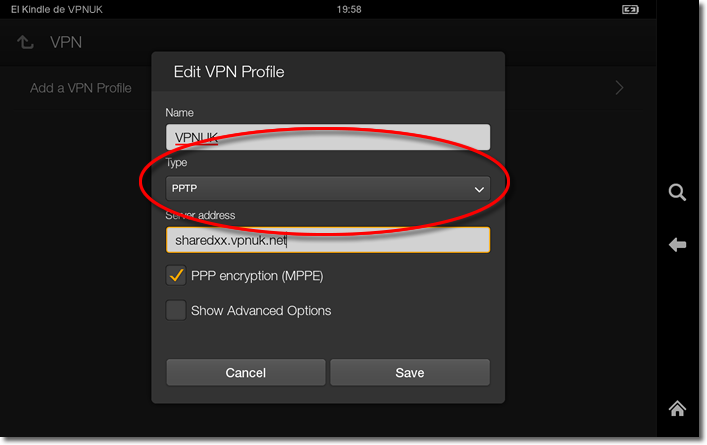
6. VPN type
Select ‘PPTP’ from the list of VPN connection types.
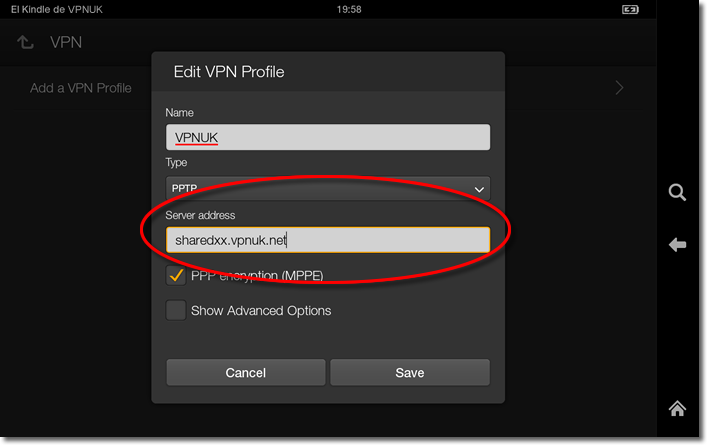
7. Server address
Enter the ‘Server address’. You can find the server information in your ‘Welcome to VPNUK’ email or in the ‘Client CP‘ on the VPNUK website.
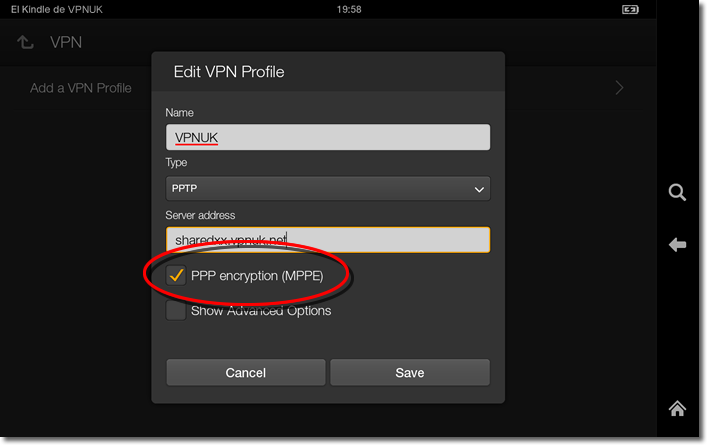
8. Encryption
Ensure the option for ‘PPP encryption (MPPE)’ is checked.
9. Save
Click onto the ‘Save’ button.
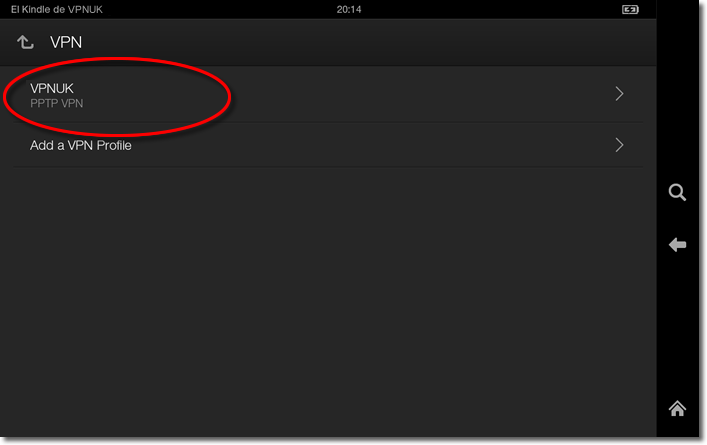
10. Connect to VPNUK
Click onto the connection that you have just created.
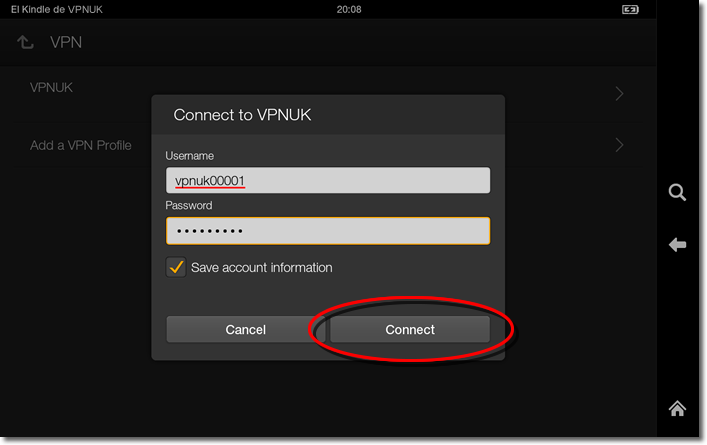
10. Connect
Enter your login credentials and click onto the ‘Connect’ button.
Troubleshooting Guide
ISP DNS Hijack / DNS Leak Protection
Some ISPs will attempt to hijack your DNS settings which hinders the VPN connection from functioning correctly. If you find that your VPNUK connection does not route your traffic correctly you can try changing your Public DNS server to the VPNUK DNS server or to an alternative like Google DNS.
1.
Go to Settings.
2.
Go to ‘Wireless’ settings.
3.
Go to ‘Wi-Fi’.
4.
Click your connection from the list of available networks for a few seconds and select ‘Modify network’ when the option appears.
5.
Select the option to ‘Show advanced options’ and ensure the IP Settings dropdown is set to ‘Static’.
6.
Change ‘DNS 1’ to the VPNUK Public DNS server: 109.169.6.2 or the Google Public DNS IP address: 8.8.8.8.
7.
Thats it!