Installing OpenVPN config files using AndroZip.
1. Install AndroZip
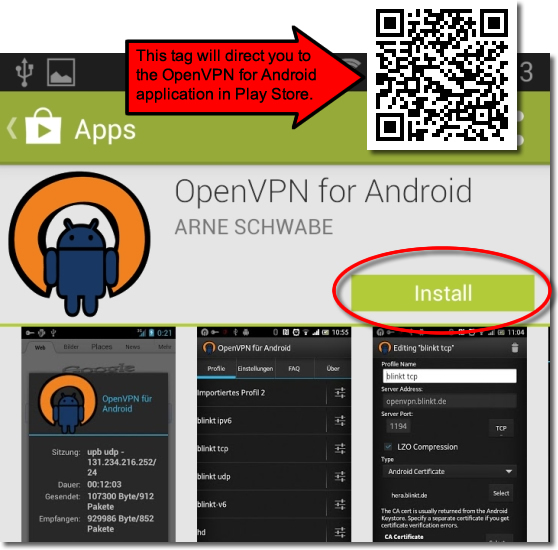
Go to the Google Play store on your Android device and download the Free ‘AndroZip File Manager’ app by AglieSoft Resource.
2. Download Config Files
[wp_colorbox_media url=”https://clientcp.vpnuk.info/vpnuk/clients/device_script.php?t=od” type=”iframe” hyperlink=”Click Here”] to download the OpenVPN for Android config files from our server.

3. Open AndroZip
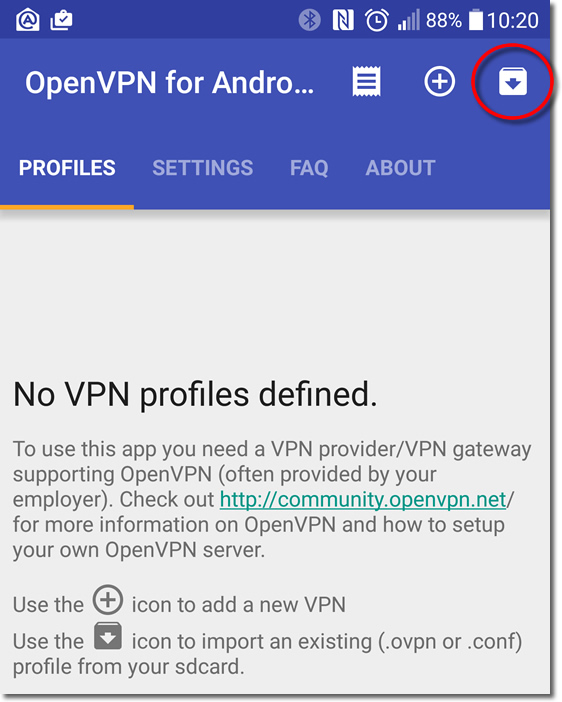
Go to the ‘AndroZip’ application in your list of Apps and open it.
4. Go To Downloads
Click onto the ‘Downloads’ folder..
5. Open vpnuk.zip
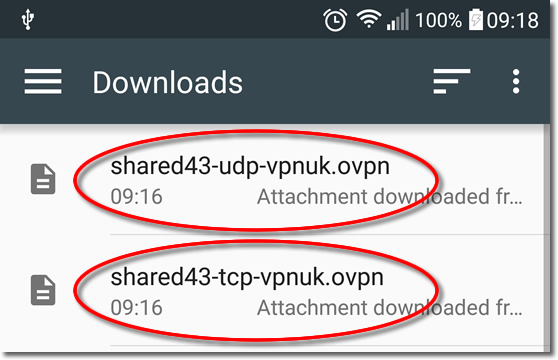
Tap onto the ‘VPNUK.ZIP’ file to bring up the actions menu.
6. Extract to…
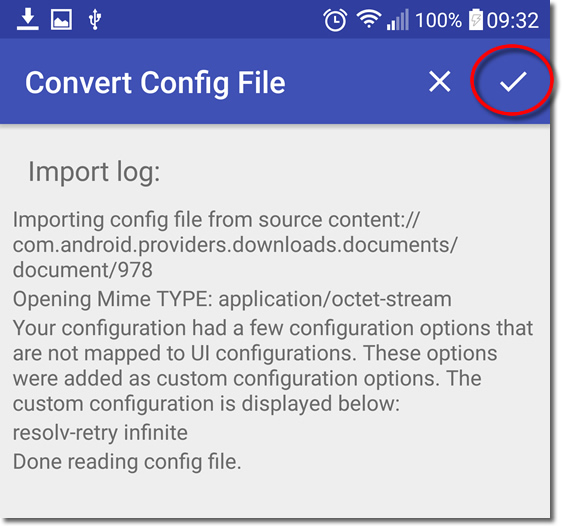
Click onto the ‘extract to…’ menu option.
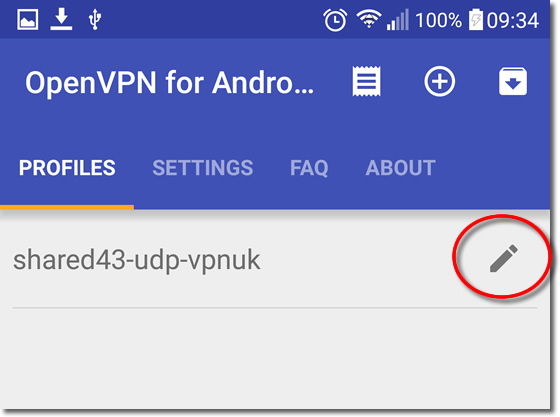
7. Extract configuration files
Go up one level to the /mnt/sdcard root directory and click onto the ‘Extract Here’ button.
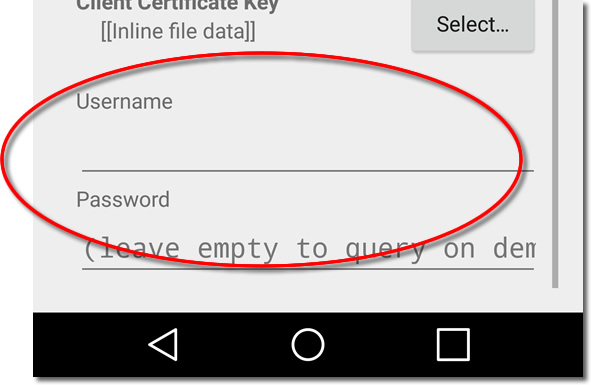
8. VPNUK Folder Created
You will now see the ‘VPNUK’ folder containing all three VPNUK OpenVPN config files.
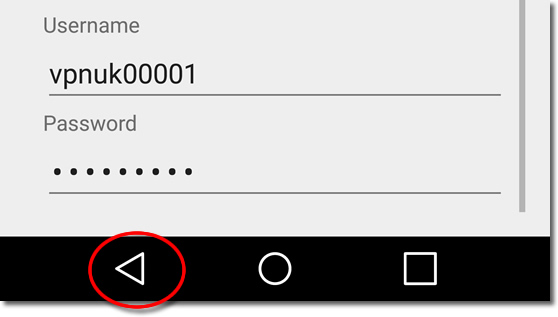
VPNUK Connection Setup Tutorial
Thats It! You can now move on and create the OpenVPN connection. Click here for the tutorial.
Troubleshooting Guide
ISP DNS Hijack / DNS Leak Protection
Some ISPs will attempt to hijack your DNS settings which hinders the VPN connection from functioning correctly. If you find that your VPNUK connection does not route your traffic correctly you can try changing your Public DNS server to the VPNUK DNS server or to an alternative like Google DNS.
1.
Go to Settings.
2.
Go to ‘Wireless and Network’ settings.
3.
Go to ‘Wi-Fi’.
4.
Click your connection from the list of available networks for a few seconds and select ‘Modify network’ when the option appears.
5.
Select the option to ‘Show advanced options’ and ensure the IP Settings dropdown is set to ‘Static’.
6.
Change ‘DNS 1’ to the VPNUK Public DNS server: 109.169.6.2 or the Google Public DNS IP address: 8.8.8.8.
7.
Thats it!
