Choose your setup method
OpenVPN is recommended for most users. WireGuard offers faster speeds but requires a Dedicated IP account.
Setting up an OpenVPN connection on a pfSense router/firewall
Config File Generators
Please ensure you have the pfsense certificate file. You can download the certificate from the follow link:
1. Login
Login to pfSense’s admin web UI.

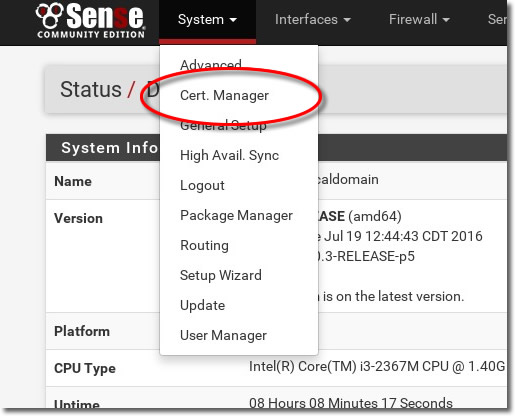
2. Cert Manager
From the pfSense interface, go to the menu and select ‘System > Cert. Manager’.
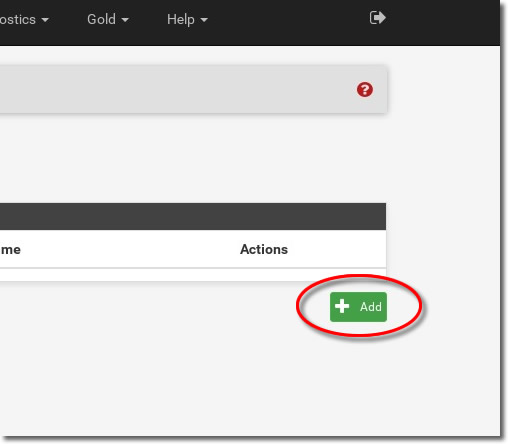
3. Add
Click onto the ‘Add’ button.
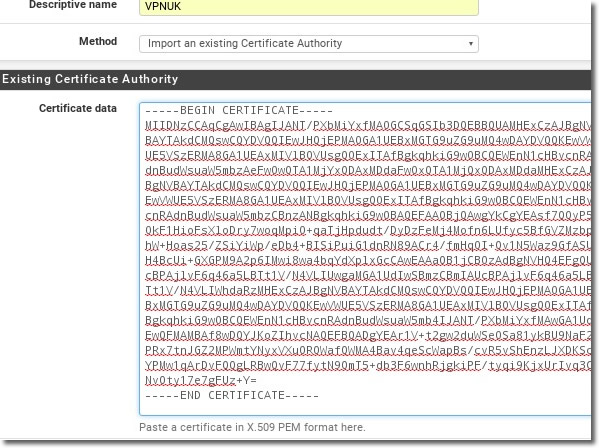
4. Name, Method and Certificate data
In the ‘Descriptive name’ type ‘VPNUK’ and ensure ‘Method’ is set to ‘Import an existing certificate authority’ is selected. Now open the vpnuk-ca.crt file in notepad or any text editor (right click, Open with..) and copy/paste the text content from and including —–BEGIN CERTIFICATE—– to —–END CERTIFICATE—– into the ‘Certificate data’ field.
IMPORTANT: Do not enter any other data or spaces into the Certificate data field.
5. Save
Click onto the ‘Save’ button.

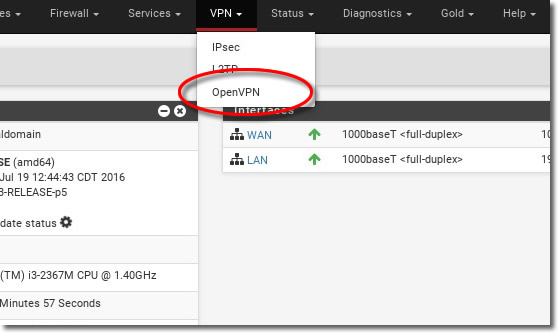
5. Configuration
From the pfSense interface, go to ‘VPN’ > ‘OpenVPN’.
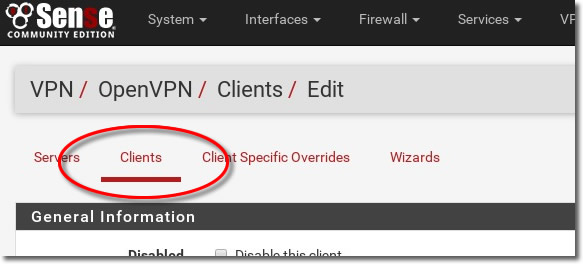
6. Edit Client VPN
Choose ‘Client’ from the options in the tabs. click onto the ‘+’ button to add a new OpenVPN configuration.
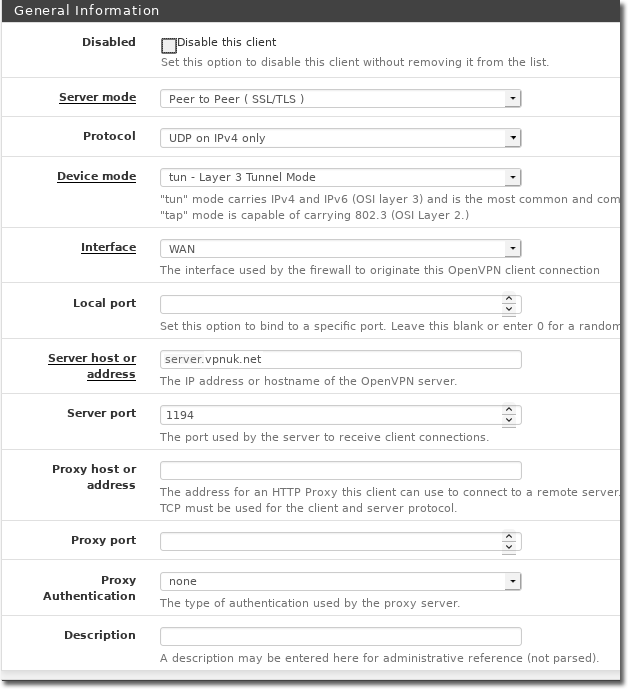
7. Setup Instructions
NOTE: Leave any additional boxes or options empty or on the current default setting.
7.1. Server Mode: ‘Peer to Peer (SSL/TLS)’.
7.2 Protocol: ‘UDP in IPv4 Only’ (You can also use TCP).
7.3. Device mode: ‘tun – Layer 3 Tunnel Mode’.
7.4. Interface: ‘WAN’.
7.5. Server host or address: Clients on our shared IP platform can enter any Shared IP server details. Dedicated IP users should enter their unique connecting server IP.
7.6. Server port: Default server for OpenPVN when using UDP is ‘1194’. If you use TCP you can enter 443. (We also have a selection of other ports you can use should you have any problems. Please contact our support team for details.
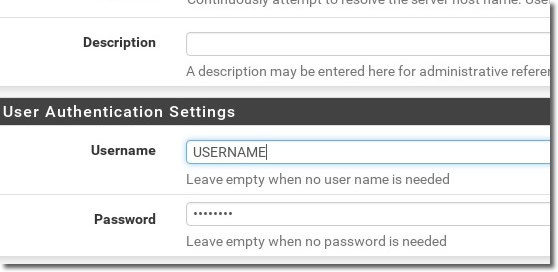
8. Setup Instructions:
NOTE: Leave any additional boxes or options empty or on the current default setting.
8.1. Description: You can enter anything here, ‘VPNUK’ is a good option.
8.2. Username: Your VPNUK login username.
8.3. Password: Your VPNUK login password.
9. Setup Instructions
NOTE: Leave any additional boxes or options empty or on the current default setting.
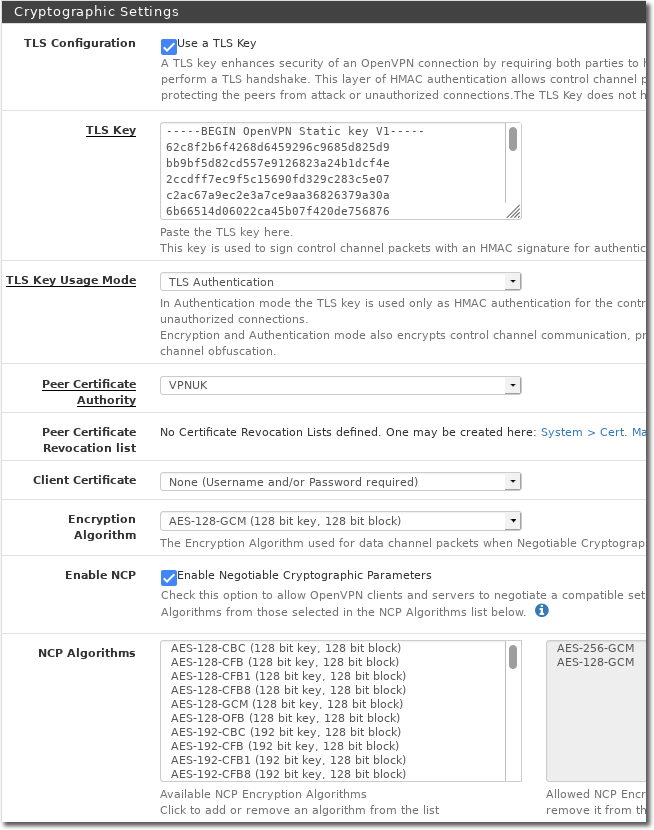
9.1. TLS Configuration: Check ‘Use a TLS Key’
9.2. TLS Key: Open the contents of the ta.key file from the zip file and paste it into the ‘Key’ field. NOTE: Its important to enter the key from: —– BEGIN to END —– leaving no spaces.
9.3. TLS Key Useage Mode: TLS Authentication
9.4. Peer Certificate Authority: select ‘VPNUK’ from the list
9.5. Encryption algorithm: ‘AES-256-GCM’. If this gives you any problems you can lower it to ‘AES-128-GCM’
9.6. Enable NCP: Check ‘Enable Negotiable Cryptographic Parameters’
9.7. NCP Algorithms: Ensure ‘AES-128-GCM and AES-256-GCM’ are included in the list (these are
offered first during the negotiation phase).
10. Setup Instructions
NOTE: Leave any additional boxes or options empty or on the current default setting.
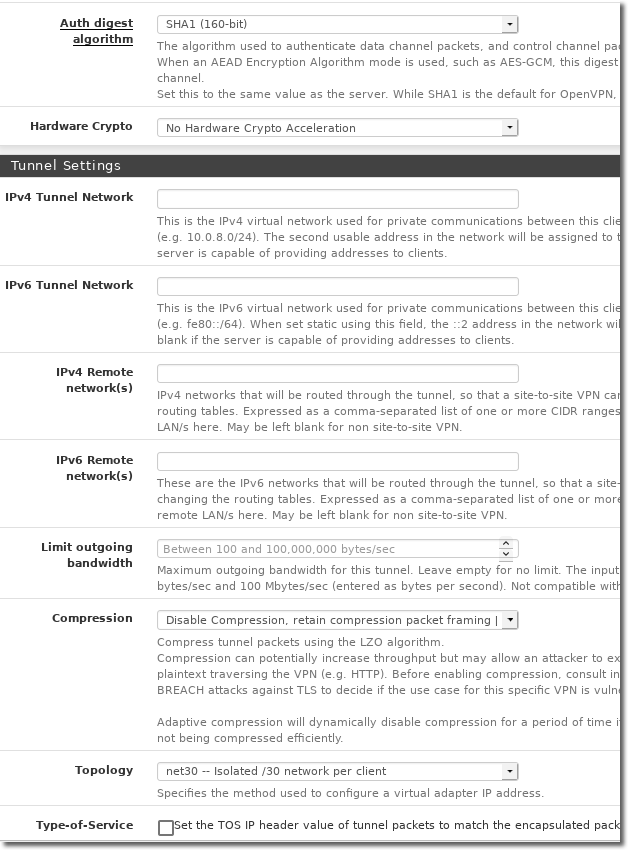
10.1. Auth Digest Algorithm: ‘SHA1 (160-bit)’.
10.2. Hardware crypto: This setting can be set to ‘Enabled’ if your hardware supports that (only on a router with a CPU that supports AES-NI instructions set). If you are unsure leave it set to ‘No Hardware Crypto Acceleration’.
10.3. Compression: select ‘Enabled with Adaptive compression’.
10.4. Topology: select ‘net 30 — Isolated /30 network per client’.
11. Setup Instructions
NOTE: Leave any additional boxes or options empty or on the current default setting.
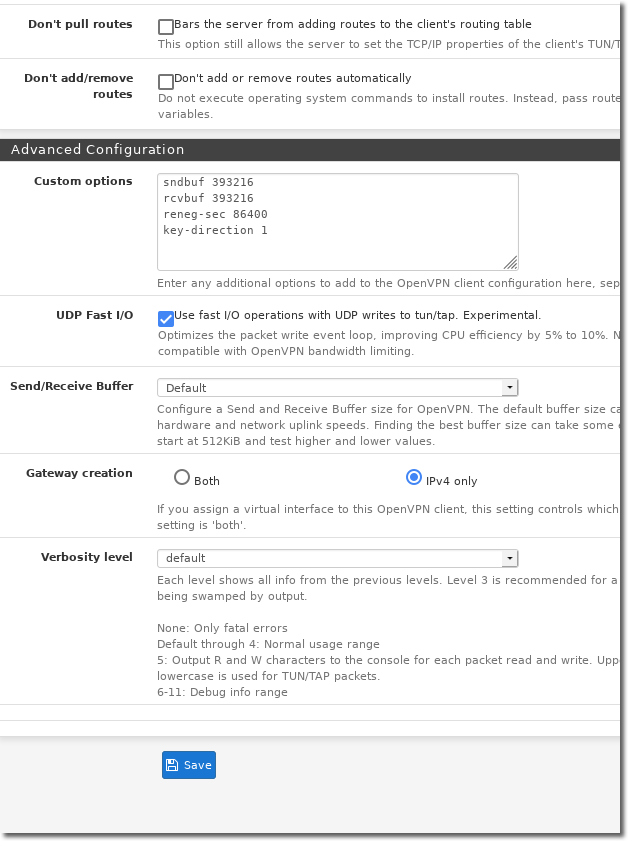
11.1. Custom Options: Enter the following options each on a new line:
sndbuf 393216
rcvbuf 393216
reneg-sec 86400
key-direction 1
11.2. UDP Fast I/O: Check ‘Use fast I/O operations’.
11.3. Gateway Creation: select ‘IPv4 only’.
11.4. Verbosity: select ‘default’.
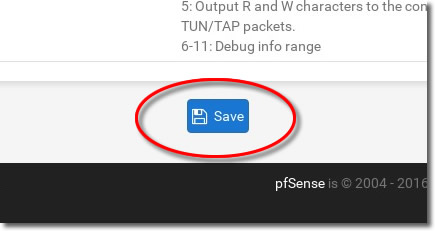
11. Save Setup
Click onto the ‘Save’ button.
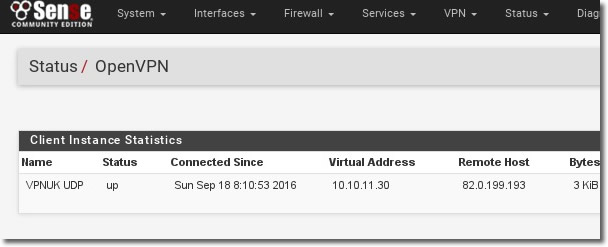
12. Status
From the pfSense interface, go to ‘Status’ and select the ‘OpenVPN’ tab,
then click on the ‘Run’ sign just below ‘Service’. You should see the OpenVPN
client connecting to the server.
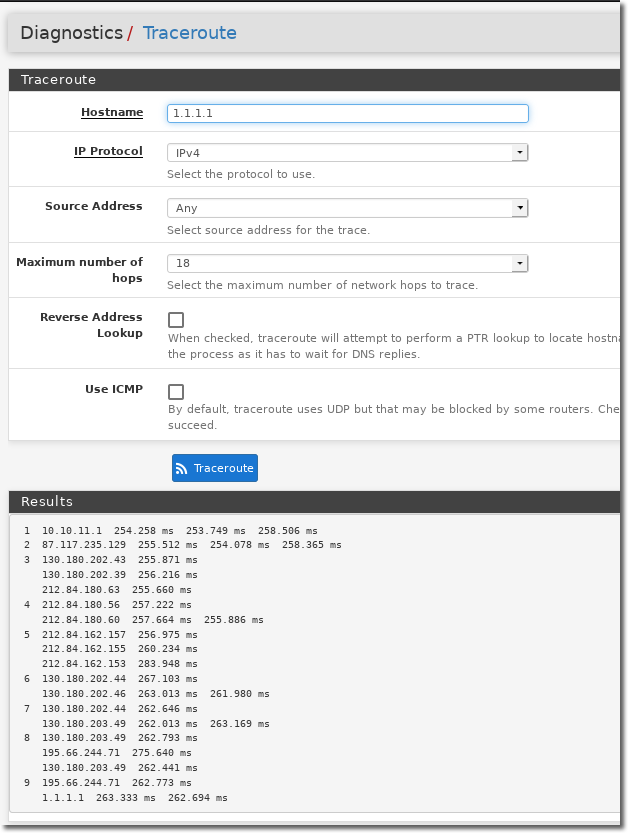
13. Thats It!
You can check if everything is working as expected by performing a traceroute from ‘Diagnostics’ > ‘Traceroute’.