Setting up the VPNUK Assistant v15 on Windows.
1. Download the Connection Assistant Software
Download the latest release of our Connection Assistant software application from here: [Download not found]. If you have any problems downloading or installing files from our server please contact our Live Help team, we are always available to help. Alternative download mirrors are available on our downloads page here.
![]()
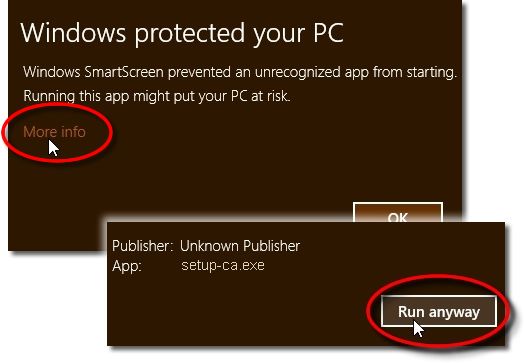
2. Unknown Publisher
You may receive a Windows warning, click onto ‘More info’ and then ‘Run Anyway’, the software is perfectly safe to use.
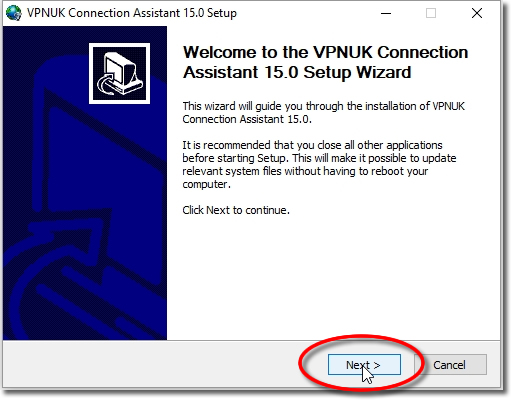
3. Run the Installer
Initiate the installation and click onto the ‘Next’ button.
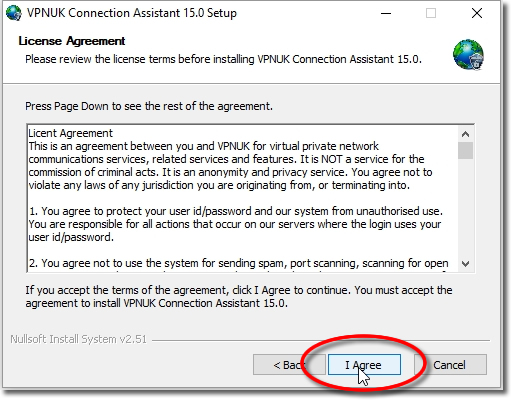
4. License Agreement
Click onto the ‘I Agree’ button.
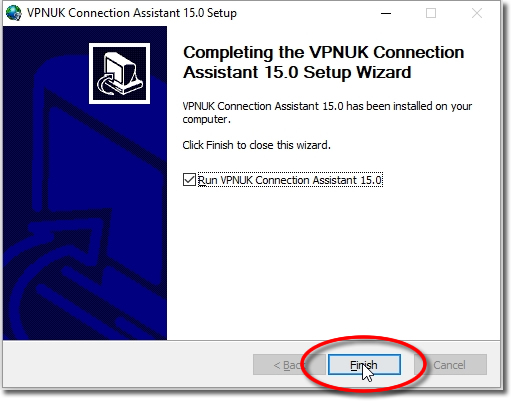
5. Installation Complete
Once the installation is complete click onto the ‘Finish’ button.
6. Open Software
Click onto the VPNUK Connection Assistant desktop shortcut or Start menu program in order to open the the software.
![]()
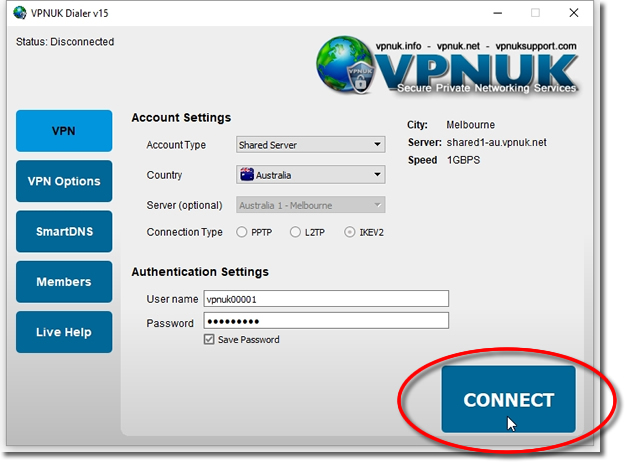
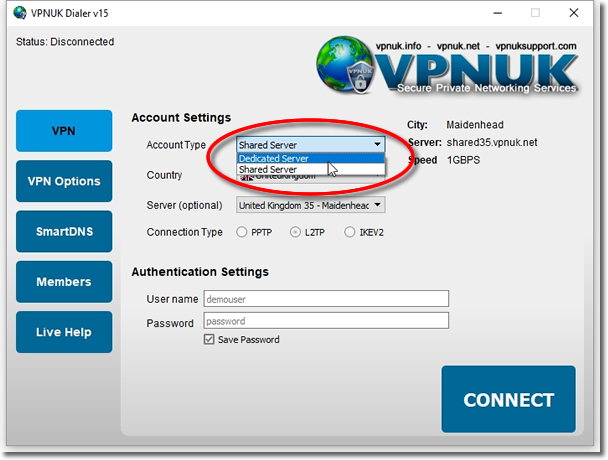
7. Type of Account
Choose the type of account you have with VPNUK.
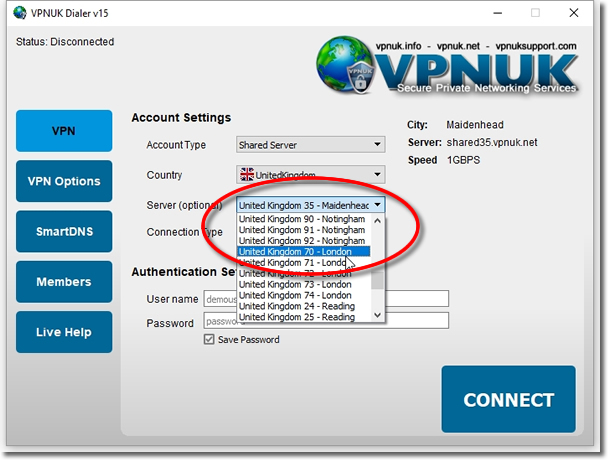
8. Destination Country
Select the ‘Destination Country’ you would like to connect to.

9. Destination Server
Select the ‘Destination Server’ you would like to connect to. If you use the Dedicated IP service, select the corresponding server to where your unique IP is located.
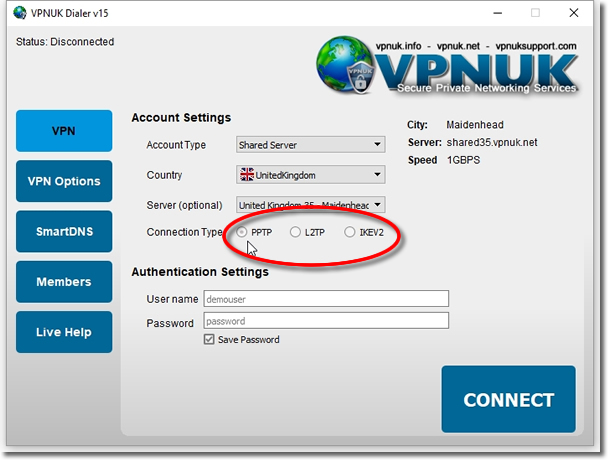
10. Type of VPN
Select the ‘Type of VPN’ connection you would like to use, you have the choice of PPTP, IKEv2 and L2TP.
11. Login Credentials
Enter your login username and password into the ‘Username’ & ‘Password’ input.
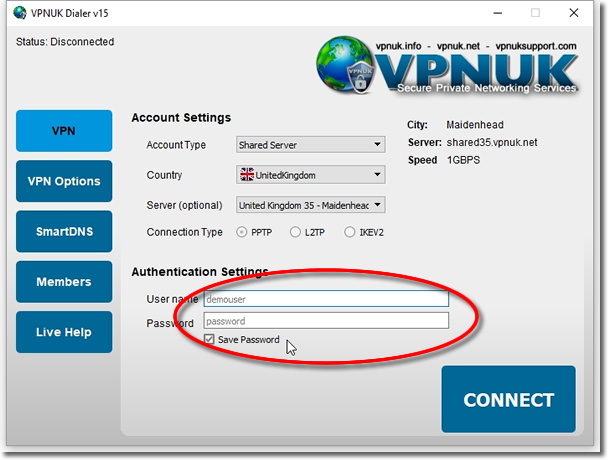
12. Connection Ready – Connect
Click onto the ‘Connect’ button to connect to the VPNUK service.