Setting up VPNUK access on Amazon devices.
VPNUK API
The VPNUK App is uses our API which assists you with the setup. The VPNUK App is fully implemented with Amazon In-App purchase, therefore you are able to administer your account from the App.
1. Install VPNUK App for Amazon
Go to the Amazon App Store on your Amazon device and search for the official ‘VPNUK’ app.
![]()
2. Run VPNUK
Go to your apps list and run the VPNUK App.
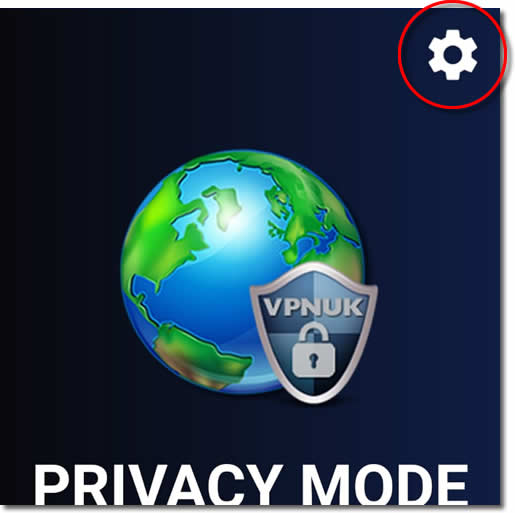
3. Configure new connection
Enter the connection settings by clicking onto the settings cog
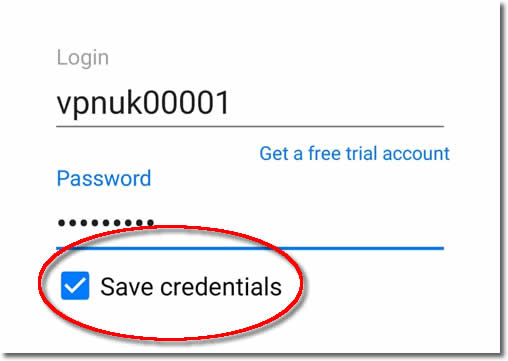
4. Configure Connection
The official VPNUK App from Amazon store uses the VPNUK API, which means you login to the VPN using your chosen User Account credentials or your VPN Account credentials, We always recommend using the VPN Account setup. Choose VPN Credentials from the top of the page and then enter your ‘VPN Username’ and ‘VPN Password’ and check the ‘Save Credentials’ box if you would like the app to save your login details. New Users can click onto the ‘Get Free Trial’ link and create a free trial account.
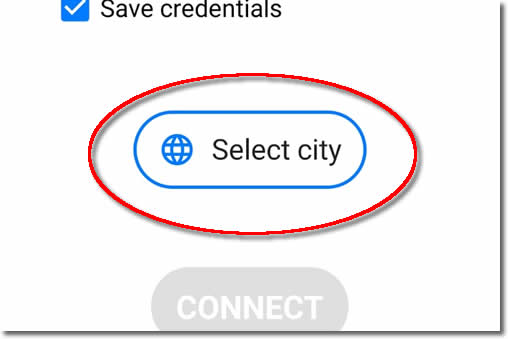
5. Choose Server
Click onto the server selection button. The VPNUK API will automatically detect your correct server.
6. Choose Server Manually
If you would prefer to over ride the API and choose your server manually you can do this, select your VPNUK account type.

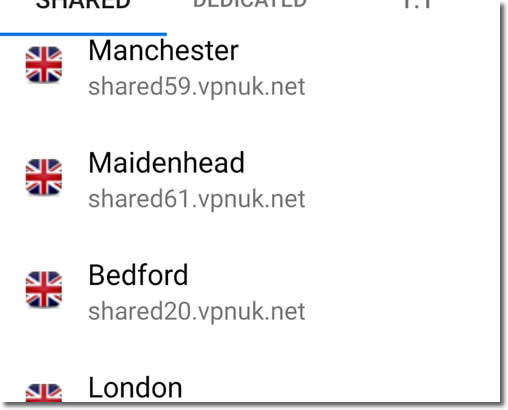
7. Select Server
If you have a Shared IP account you can connect to any of the Shared IP servers. If you have a Dedicated IP account or a 1:1 Dedicated IP account please choose your connecting server, you can find these details in your welcome email or in the members area. All Dedicated IP account holders also have unlimited access to all of our Shared IP servers.
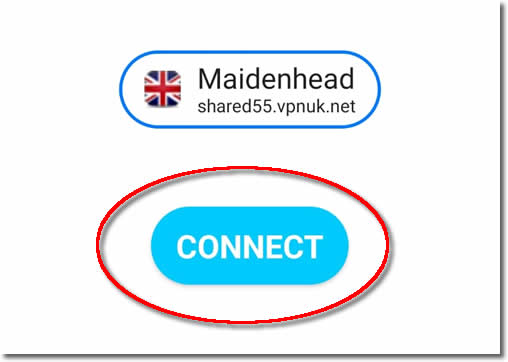
8. Connect
You can now connect to your VPNUK account.
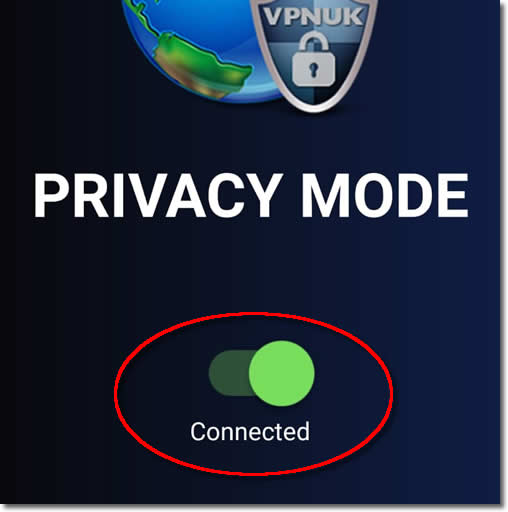
9. Connection Complete
Your account will now be connected to the VPN, if you would like to disconnect or switch to a different server, click onto the ‘Disconnect’ button and choose a different server. You can now connect to the service from the Quick Launch screen by use the quick connect toggle. If you would like to edit your connection in future, click onto the settings cog on the top right of the screen.
Optional Settings
The VPNUK App comes with a whole host of user configurable connection settings, options and troubleshooting aids. We will now go through these with you and explain what each optional setting does.
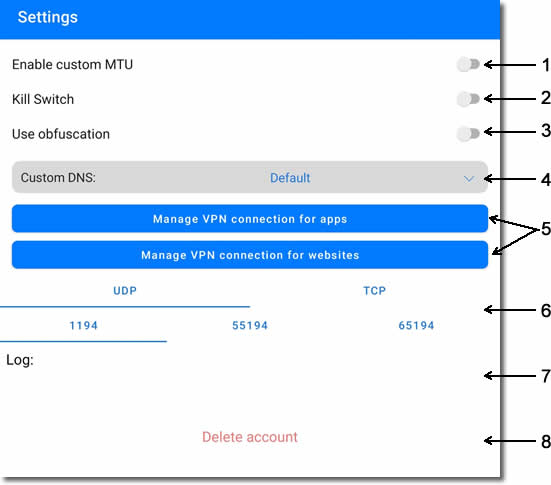
1.Enable Custom MTU. Adjusting the MTU can sometimes help with connection and speed issues.
2. Kill Switch. Designed to disable all internet access should your vpn connection drop out for any reason.
3. Use Obfuscation. You have the capabilities of connecting over an Obfuscated connection. This means you can block Deep Packet Inspection, its a great way of adding additional security and privacy to your VPNUK connection by making your VPN traffic appear as regular web traffic, but with the added benefits of privacy, security and encryption the VPNUK connection gives you.
4. Custom DNS. You can choose to run your VPN through the default VPN DNS settings or you can choose from one of the many third party dns providers.
5. Mange VPN Connection for apps & websites. This optional setting is called Split Tunneling and is useful if you would like to route specific websites or apps outside your VPNUK connection, should you wish to use your local internet provider for any services or websites rather than the VPNUK connection.
6. Protocol and Ports for UDP and TCP connections. We have three ports for UDP and three ports for TCP. Obfuscation also uses its own Protocol and port. You can switch protocol and port if you have any problems with connecting.
7. Log. If you have any problems connecting to the VPNUK service and reach out for help we will usually ask you to provide us with the log, its an excellent way of troubleshooting any connection problems.
8. Delete account. This is a new Google requirement and should only be used if you no longer have a VPNUK account, or subscription. Delete account will completely remove all traces of your user and vpn account from the VPNUK system.
Troubleshooting Guide
Your VPNUK account should work first time, everytime. If you ever experience any problems with your VPN connection the first thing we urge you to do is contact us on our Live Help service, we can offer instant assistance with all connection issues and get you back online. The following is a basic troubleshooter for the more common issues that can arise from our VPN service. Our Live Help service may ask for you to send the connection log.
1. Cannot Connect. If your connection suddenly stops working: Go to Optional Settings, change the Protocol from UDP to TCP or vice versa. You can also try enabling Obfuscation.
2. Connection is slow. Go to Optional Settings and change the Protocol from UDP to TCP or vice versa. You can also try lowering the MTU slightly, one step at a time and using a third party DNS provider.
3. Connection Blocked. Go to Optional Settings and switch on Obfuscation.
4. VPN Connects but not routing traffic. Go to Optional Settings and lower your MTU. If that does not work you can also try enabling Custom DNS.
5. Nothing Works. Please contact our Live Help team. Please copy or screenshot the last dozen or so lines of the connection Log to send to us.
Enjoy Secure VPN Access with the VPNUK App on Amazon Fire TV Devices!
Did this guide help? Please provide us with feedback here or share it with others looking for a secure VPN setup on Amazon Fire TV