Setting up PPTP VPN access under Ubuntu GNU/Linux.
This tutorial describes how to configure and setup a PPTP VPN connection in Ubuntu GNU/Linux using network manager. This tutorial is based on Ubuntu 20.04
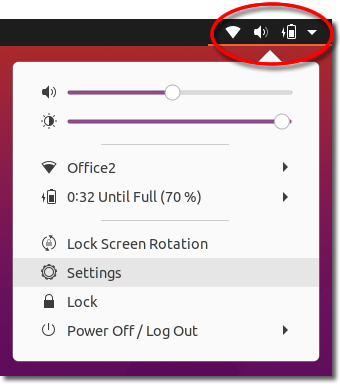
1. Taskbar System Tray
Click on the ‘System Tray’ to open the settings window.
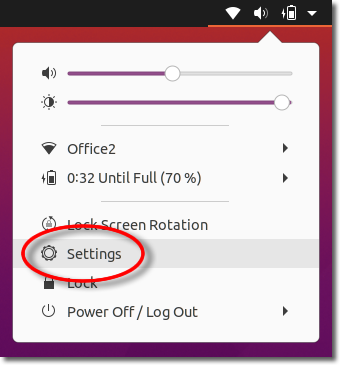
2. Settings
Click onto ‘Settings’.
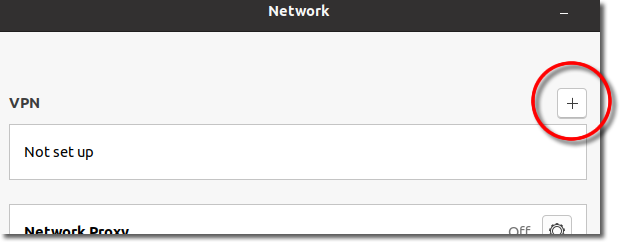
3. Create VPN
Click onto the ‘+’ button to create a new connection.
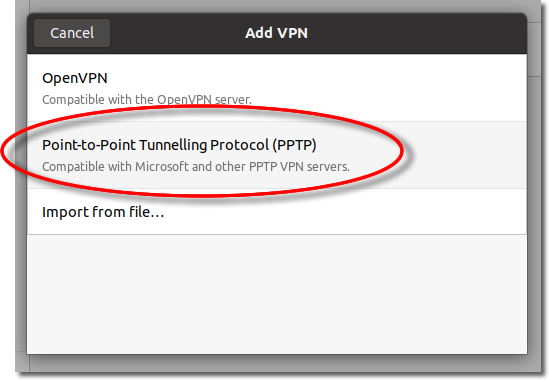
4. PPTP Connection
Select ‘Point-to-Point Tunnelling Protocol (PPTP)’ to add a new PPTP connection.
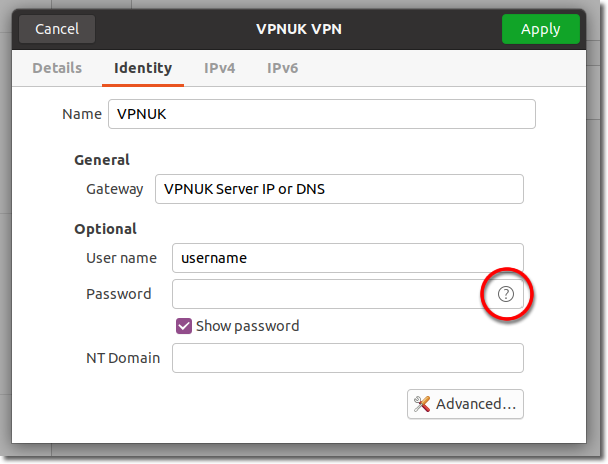
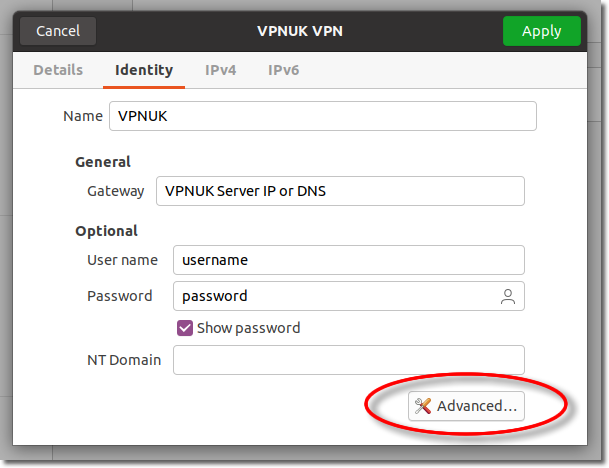
5. Connection Settings
Enter a name for the connection, your VPNUK server IP or DNS address and your vpn account login username, then click onto the question mark located in the Password input area.
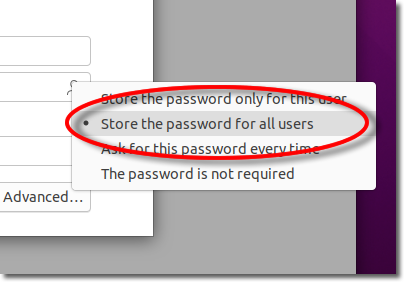
6. Password Options
You can choose to store your password, or ask for it each time you connect.
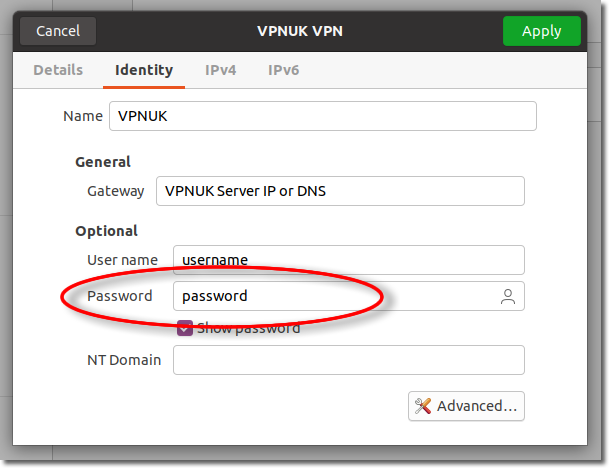
7. Password
If you have chosen to Store your password you can enter your VPN login password in the password field.
8. Advanced
Click onto the Advanced button.
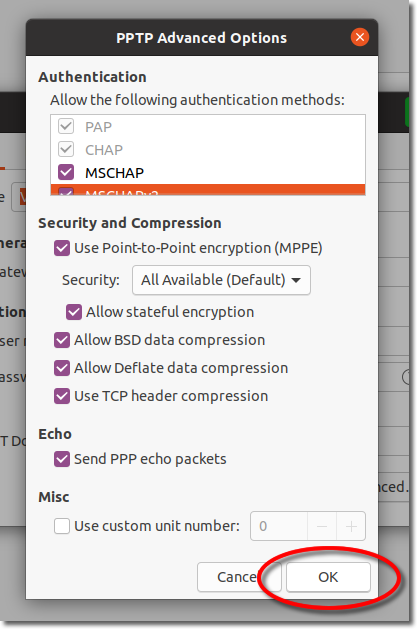
9. Advanced options
Check all of the ‘Security and compression’ options, then click on ‘OK’.
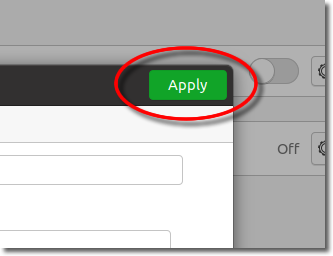
10. Apply Settings
Click onto the ‘Apply’ button to save your configuration settings.
11. Connect (First Time)
Toggle the connection slider to the ‘ON’ position to connect the VPN.

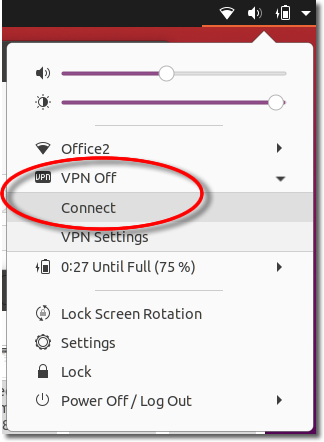
12. Future Connections
Click onto the Taskbar System Tray and then scroll to VPN and select ‘Connect’.